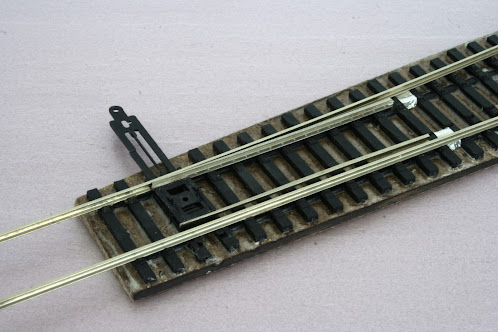
Next came the closure rails. This was straightforward. Pieces of rail are cut to the appropriate length. At the frog end they are partly slid under the earlier installed frog block. At the point end, they simply end where the points begin. The rail for the diverging route had to be slightly bent, but as for the stock rails, the tie plates and the self gauging mechanism makes this a snap. I glued the rails in place with CA.
Last, I glued styrene bolt bars to the frog block. I also glued rail-braces to the ties along the point area.
So for the time being, this turnout has to be considered completed. It looks good so far and was not that difficult to build. Hopefully the next one will be even less difficult and look even better when finished!
Last minute addition: An Ohm-meter showed that the foil strips, supposed to create electrical contact between the stock and closure rails, did not do their job. There simply was no contact. I tried to flood some solder between the foil and the rails, but with limited result. Instead I bent the foil up on top of the rail base, on the outside of each rail. Then it was possible to solder the foil to the rails, making contact. I wonder how this was meant to work reliably in the first place. I have to come up with something better for the future turnouts.


No comments:
Post a Comment