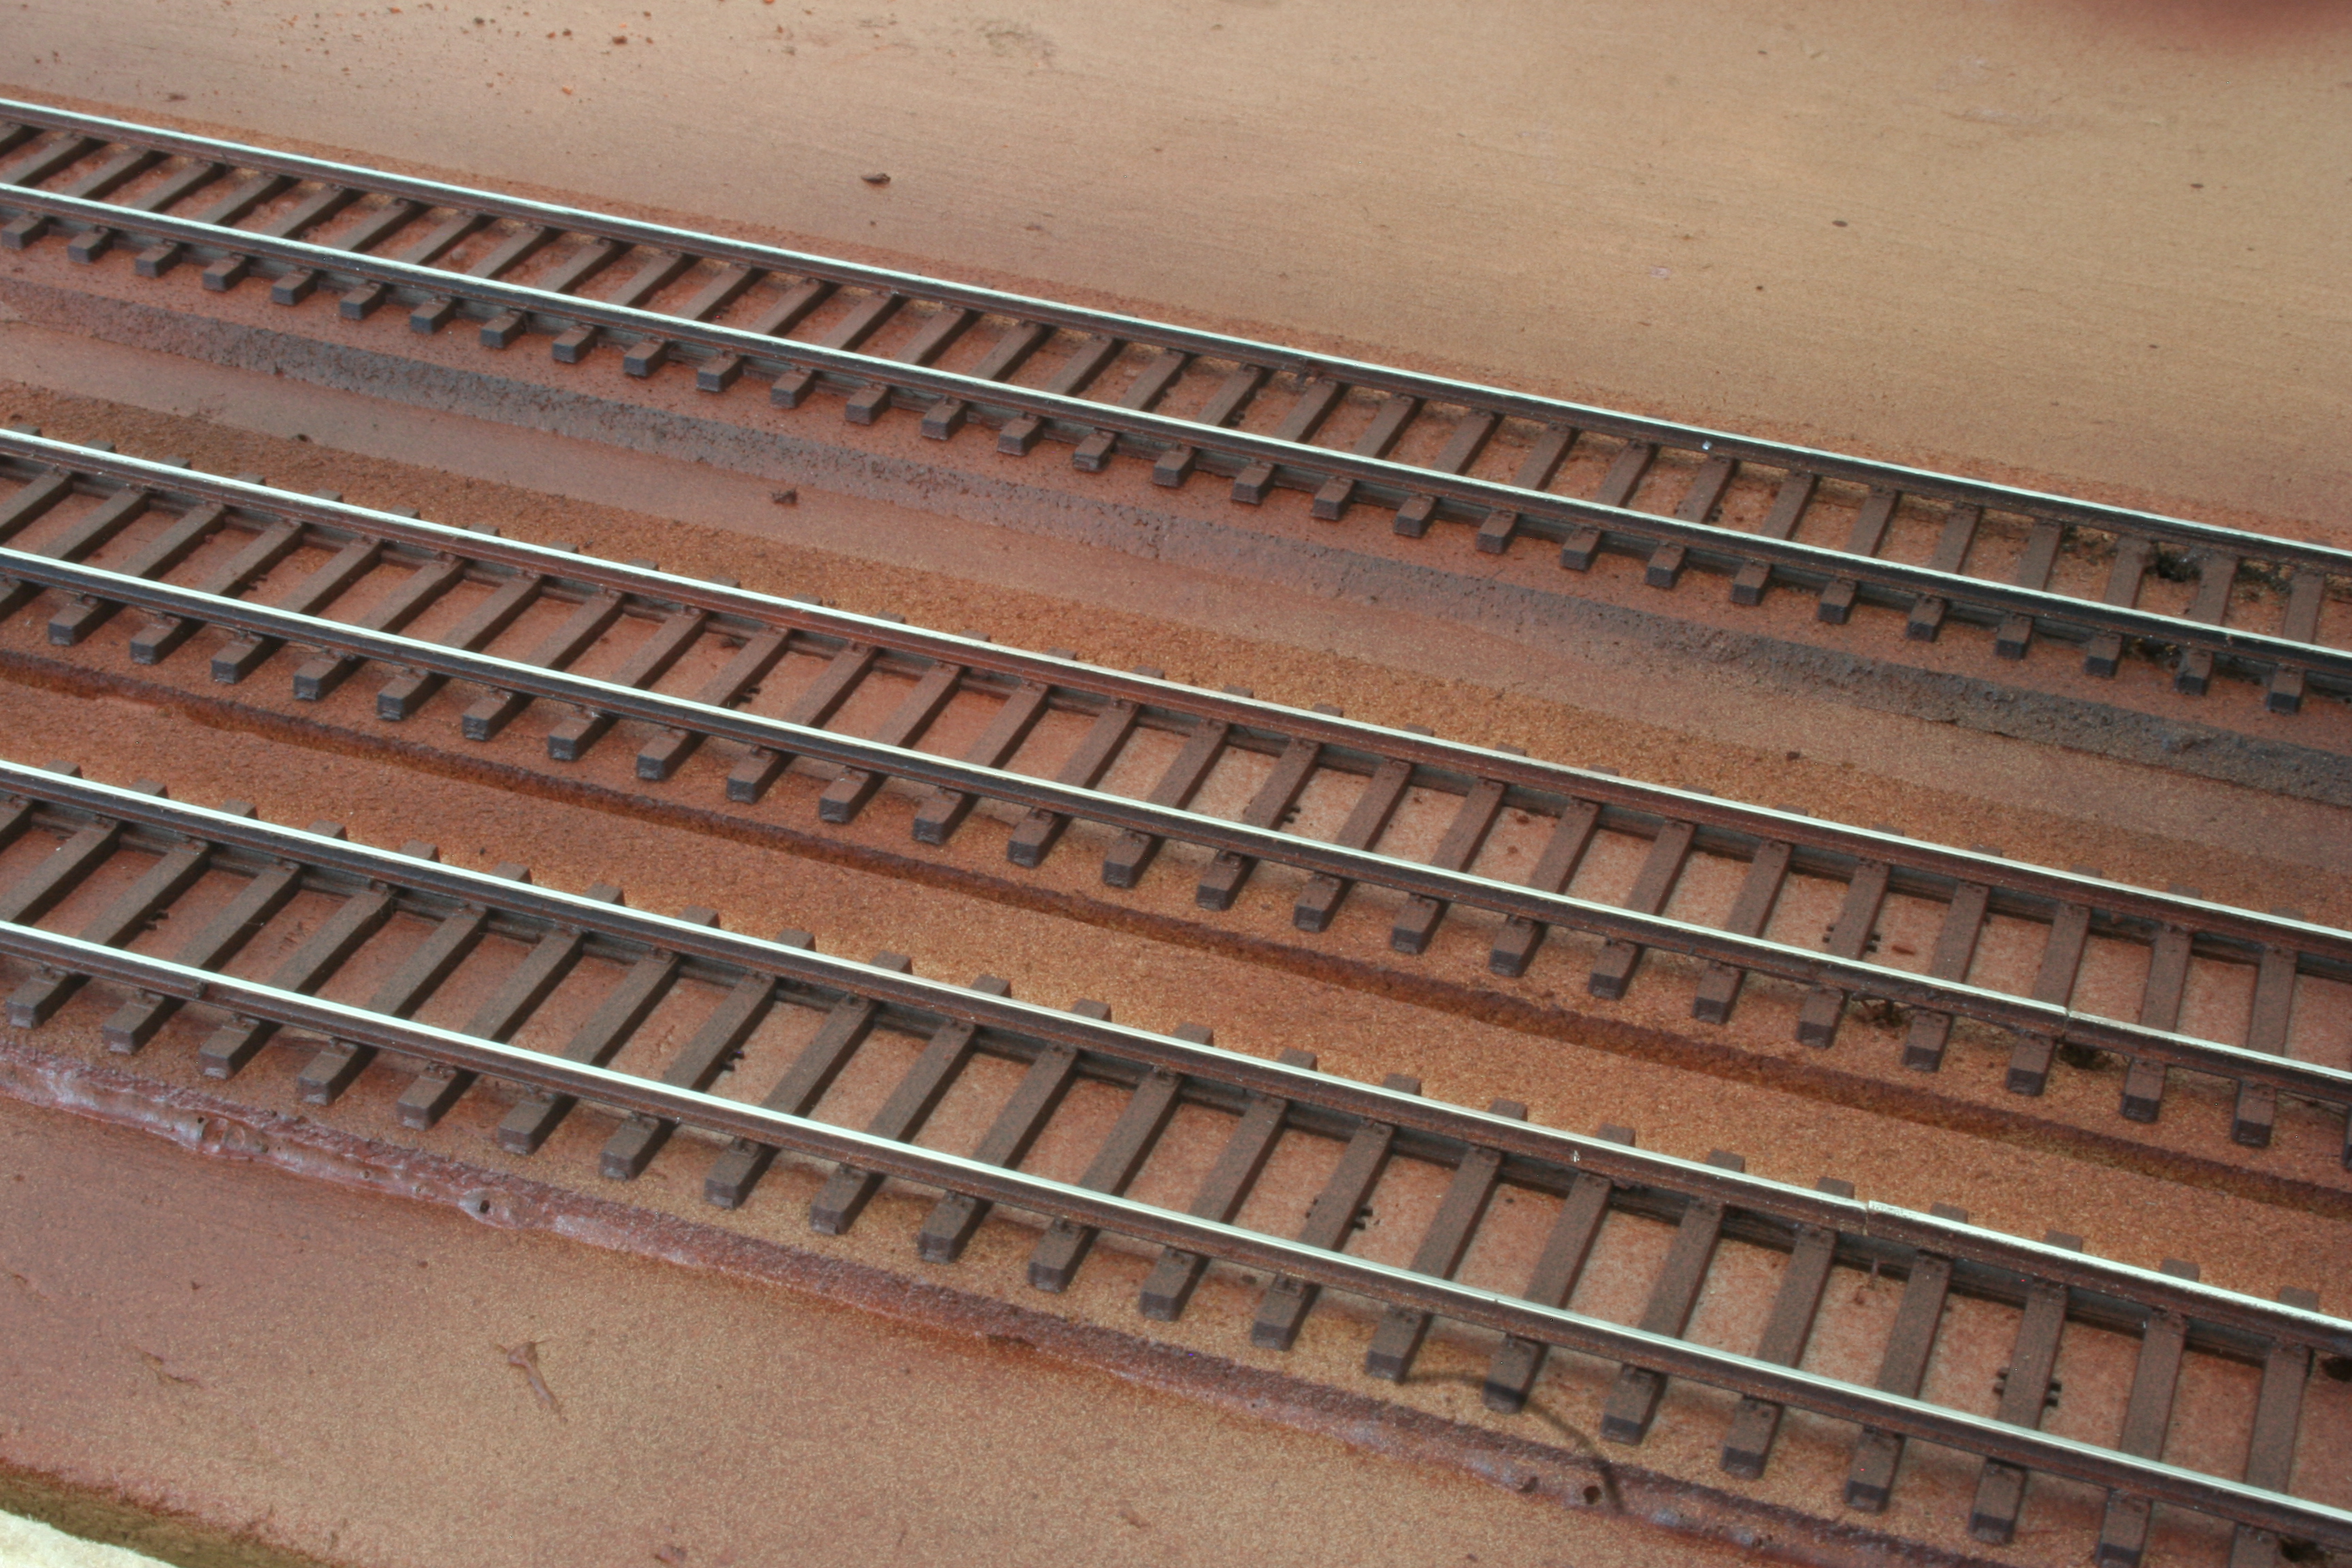
I ran out of rail and had to order some more. While waiting for the rail to arrive I started some track and turnout weathering.
Showing posts with label weathering. Show all posts
Thursday, February 3, 2022
Turnout weathering
Labels:
nersmutsning,
On2,
smutsning,
turnout,
växel,
weathering
Friday, November 24, 2017
Weathering a hopper
After having weathered the trucks of the BN hopper it was time to have a go at the car itself. Once again I started by following a tip of Jeremy St. Peter - his dry brush fading technique (http://www.theweatheringshop.com/dbrush.html). This is a way of fading the original color. You start by applying a generous coat of white oil color, and then successively remove it until just a tad remains, as shown below.
(EDIT September 14, 2022: The above linked page seems to have been removed from The Weathering Shop. Sorry about that.)
I used titanium white for the fading, since that was what I had at hand, although Jeremy says that zinc white is better since the titanium tends to give the car a blueish hue. And as you can see below he was perfectly correct (I have since bought some zinc white to use on the next car).
I then used some acrylics and weathering powders to add grime and rust effects. I am not all happy with the result, even if it looks better IRL than on the photos. Judge for yourself.
I added ACI labels, since that would be appropriate for my era (late 1970s). For that purpose I had bought myself a decal set (Microscales 48-650). I thought it would be cool if at least part of the identification number coded on the label would match the actual car number, so I did some digging into ACI labels.
The first part of the bar sequence is an owner identification. I managed to find a list of such identification codes (http://eaneubauer.ipower.com/aci.pdf), prepared by Eric A. Neubauer. The list showed that a BN owned car should be coded starting with 0076. The list also shows how numbers are translated into bars. Prepared with this information I managed to actually find some plates on the decal set that started with 0076 for BN. But what I also found at that point was that the ACI plates on the decal set are all wrong! An ACI plate shall have 13 bars, including start, stop and check bars, but the Microscales plates have only 12. No big deal really (who would notice or even care?), but when having managed to gather all this info I thought it would be even cooler to make my own labels, actually matching both the owner road and the car number in question. The result is what you see in the picture below. Believe it or not, but the bars really translate to BN 450661.
Saturday, November 4, 2017
Weathering a truck
Today I weathered one of the trucks of one of my hoppers. I more or less followed the advice of Jeremy St. Peter at the Weathering Shop (http://www.theweatheringshop.com/jtrucks.html).
(EDIT September 14, 2022: The above linked page seems to have been removed from The Weathering Shop. Sorry about that.)
I wanted to paint and weather the wheels as well. The only way to get at the wheel sides is to disassemble the complete truck. So that is what I did. In the picture below you can see all the parts. Before proceeding I took the opportunity to wash the parts in alcohol. I also masked the wheel threads and stuck the bearing caps to the ends of some tooth picks for easier handling.
I spray painted the wheels with Tamiya red brown, followed by a dusting of AIM light rust weathering powder.
The truck parts were sprayed with Vallejo black surface primer. The truck was then reassembled. The painted and weathered wheels were also fitted again. I then hit some parts of the truck, such as the visible part of the bolster and the springs, with some acrylic raw umber. Last the trucks were dusted with AIM dark rust, medium earth and medium gray powder. The dark rust was applied around the same areas that got the sienna, the medium earth mainly along the lower part of the truck, and the medium gray all over the truck.
The picture below shows the finished truck to the right, and for comparison an original Atlas truck (with P48 profile) wheels to the left.
I wanted to paint and weather the wheels as well. The only way to get at the wheel sides is to disassemble the complete truck. So that is what I did. In the picture below you can see all the parts. Before proceeding I took the opportunity to wash the parts in alcohol. I also masked the wheel threads and stuck the bearing caps to the ends of some tooth picks for easier handling.
I spray painted the wheels with Tamiya red brown, followed by a dusting of AIM light rust weathering powder.
The truck parts were sprayed with Vallejo black surface primer. The truck was then reassembled. The painted and weathered wheels were also fitted again. I then hit some parts of the truck, such as the visible part of the bolster and the springs, with some acrylic raw umber. Last the trucks were dusted with AIM dark rust, medium earth and medium gray powder. The dark rust was applied around the same areas that got the sienna, the medium earth mainly along the lower part of the truck, and the medium gray all over the truck.
The picture below shows the finished truck to the right, and for comparison an original Atlas truck (with P48 profile) wheels to the left.
Saturday, December 5, 2015
Weathering Track, part 1
Progress is actually made on the layout, although you might think otherwise. What I am doing is weathering the track. I have started with the back of the rails, i.e. the side facing the backdrop. Pointless some might say, but I do not agree. An occasional future picture might be taken in an angle revealing that side of the rails. And also, I just feel happier knowing the weathering is complete. But to be on the safe side I do the back first, which will later give me no choice but doing the other side (the front) also :-)
What I do is brush on a coat of dirt colored paint, and while the paint is still wet I add weathering powders. First a light rust colored powder and then some darker rust. I apply it generously which creates a texture which in my eyes looks quite realistic.
Saturday, September 1, 2012
Track Weathering
I have done some experimenting with track weathering. I started by spray painting the track a brown color, using a spray can. It was not a carefully selected color. Just a can I happened to find in a nearby store. It was a rather light reddish brown, so I also toned everything down with a light spray of flat black. This is what the track looked like after that treatment.
I then tried different ways, and different kind of colors, to get a more aged and rusty look. I think my best attempt so far was with some oil paints, ochre and burnt sienna. Using a flat and thin brush I applied ochre to the tie plates, and dry brushed ochre and burnt sienna to the ties. I then smeared everything with my finger. The rail sides also got some more color.
Perhaps still a little to much on the red and yellow side. At the next attempt I will maybe try to add some white and ultra-marine. At this time I decided to press on and to see what it would like with ballast in place. So I added some (N scale) ballast, but did not secure it.
It seems I have a fibre or something on my camera lens. Need to get rid of that!
EDIT September 19, 2022: I did finally get rid of the "thing" in the camera sometime during spring of 2022. 😀
Subscribe to:
Posts (Atom)