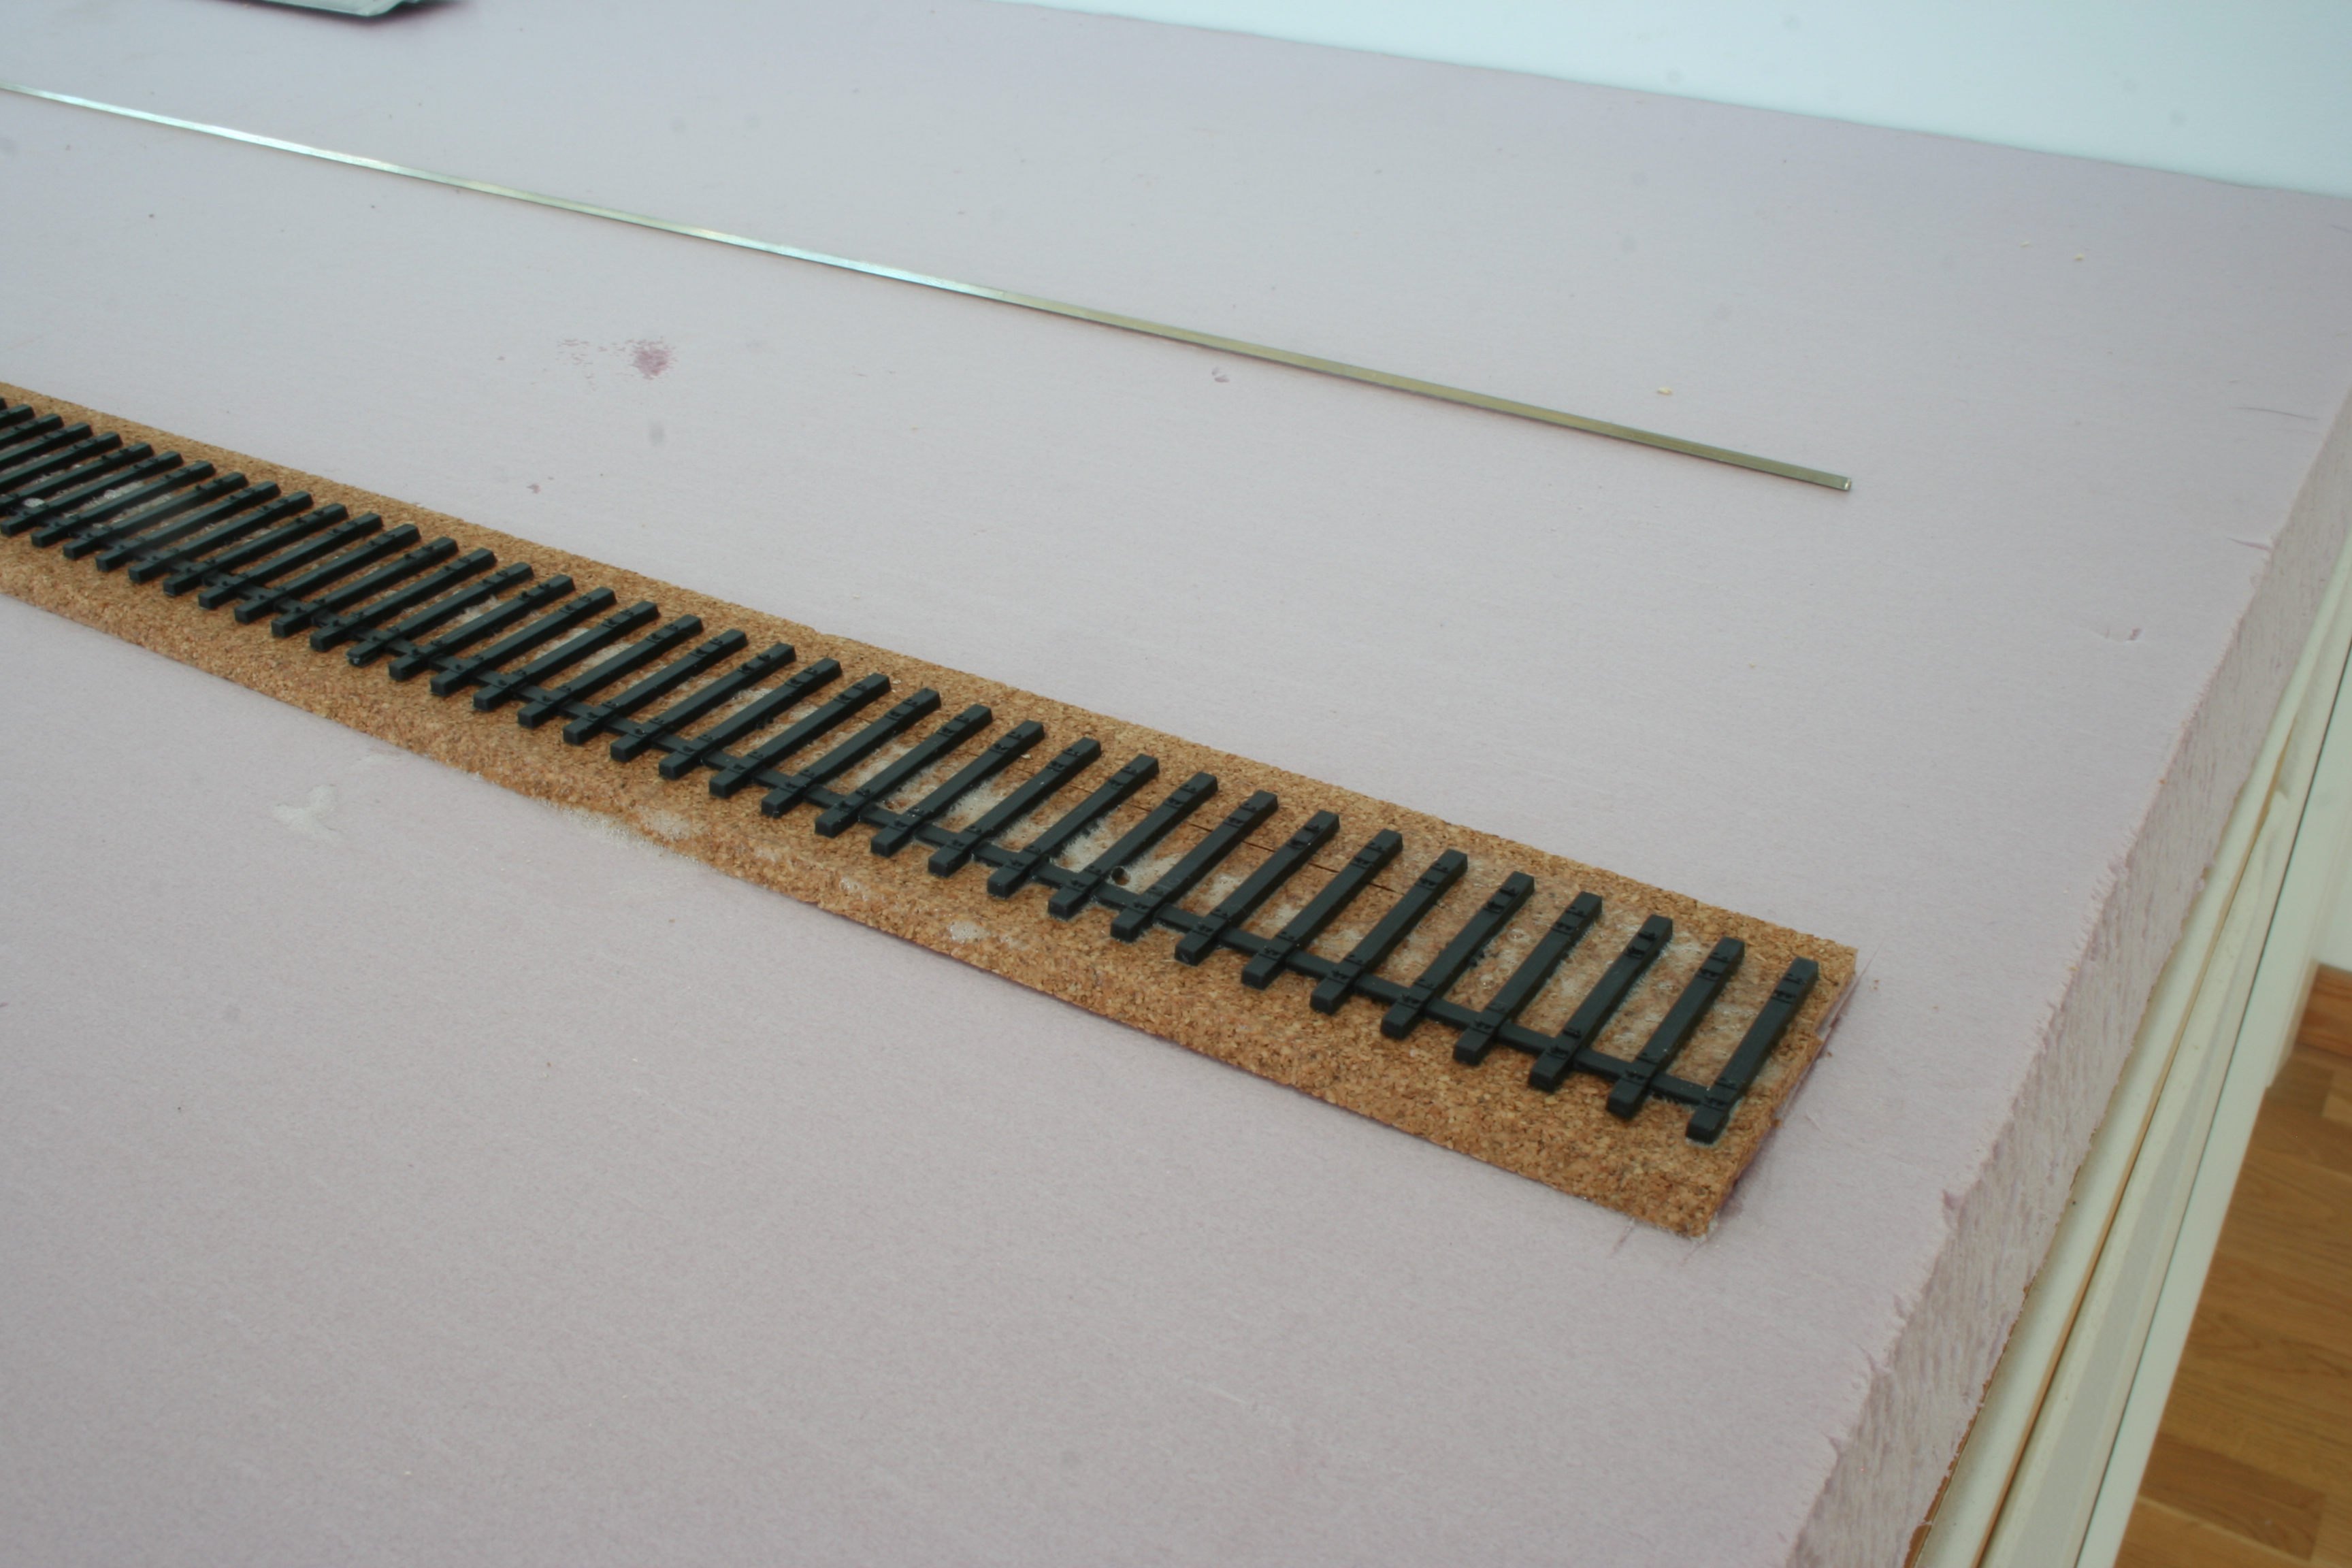
Once the cork had set I proceeded with the Central Valley tie strips. I glued the strips to the cork, using the same glue I earlier used to glue the cork to the foam. The strips have special provisions at the ends so that they easily, and using a little styrene cement, hook together forming longer strips as needed.
I paid special attention to the spots where the strips met the turnouts, making sure they were aligned properly so that the rails protruding from the turnout assemblies would fit on the "tie plates" on the tie strips.
When the tie strips were in place I glued the turnout assemblies to the foam, and bonded the protruding and overlapping rails to the tie strips with CA. Then I put some weights (books) on top of the lot and let it sit overnight.
Today it was some time for some rails. After cutting the rail to the proper length I soldered a piece of feeder wire to the bottom of it, making sure the wire would end up on top the hole I had just made through the cork and foam. I find it easier and safer to just poke a hole with a small screwdriver and widen it with a jewelers file, instead of using a drill. It is difficult to control the drill in the foam, and it produces a lot of dust. Poking and filing is much cleaner.

I bonded the rails to the tie strips using PlioBond contact cement. The tedious part is to apply cement to the strips. To avoid getting cement on the tie plate and spike details I apply it using a tooth pick. To get the cement onto the underside of the rail is much easier, once you get the hang if it. I hold the rail upside down using a pair of pliers and stroke the tip of the cement tube along the rail at a steady pace. You need not press the tube to get the cement out. Once you have got it started it will sort of drag itself out of the tube as you go along. Fascinating!
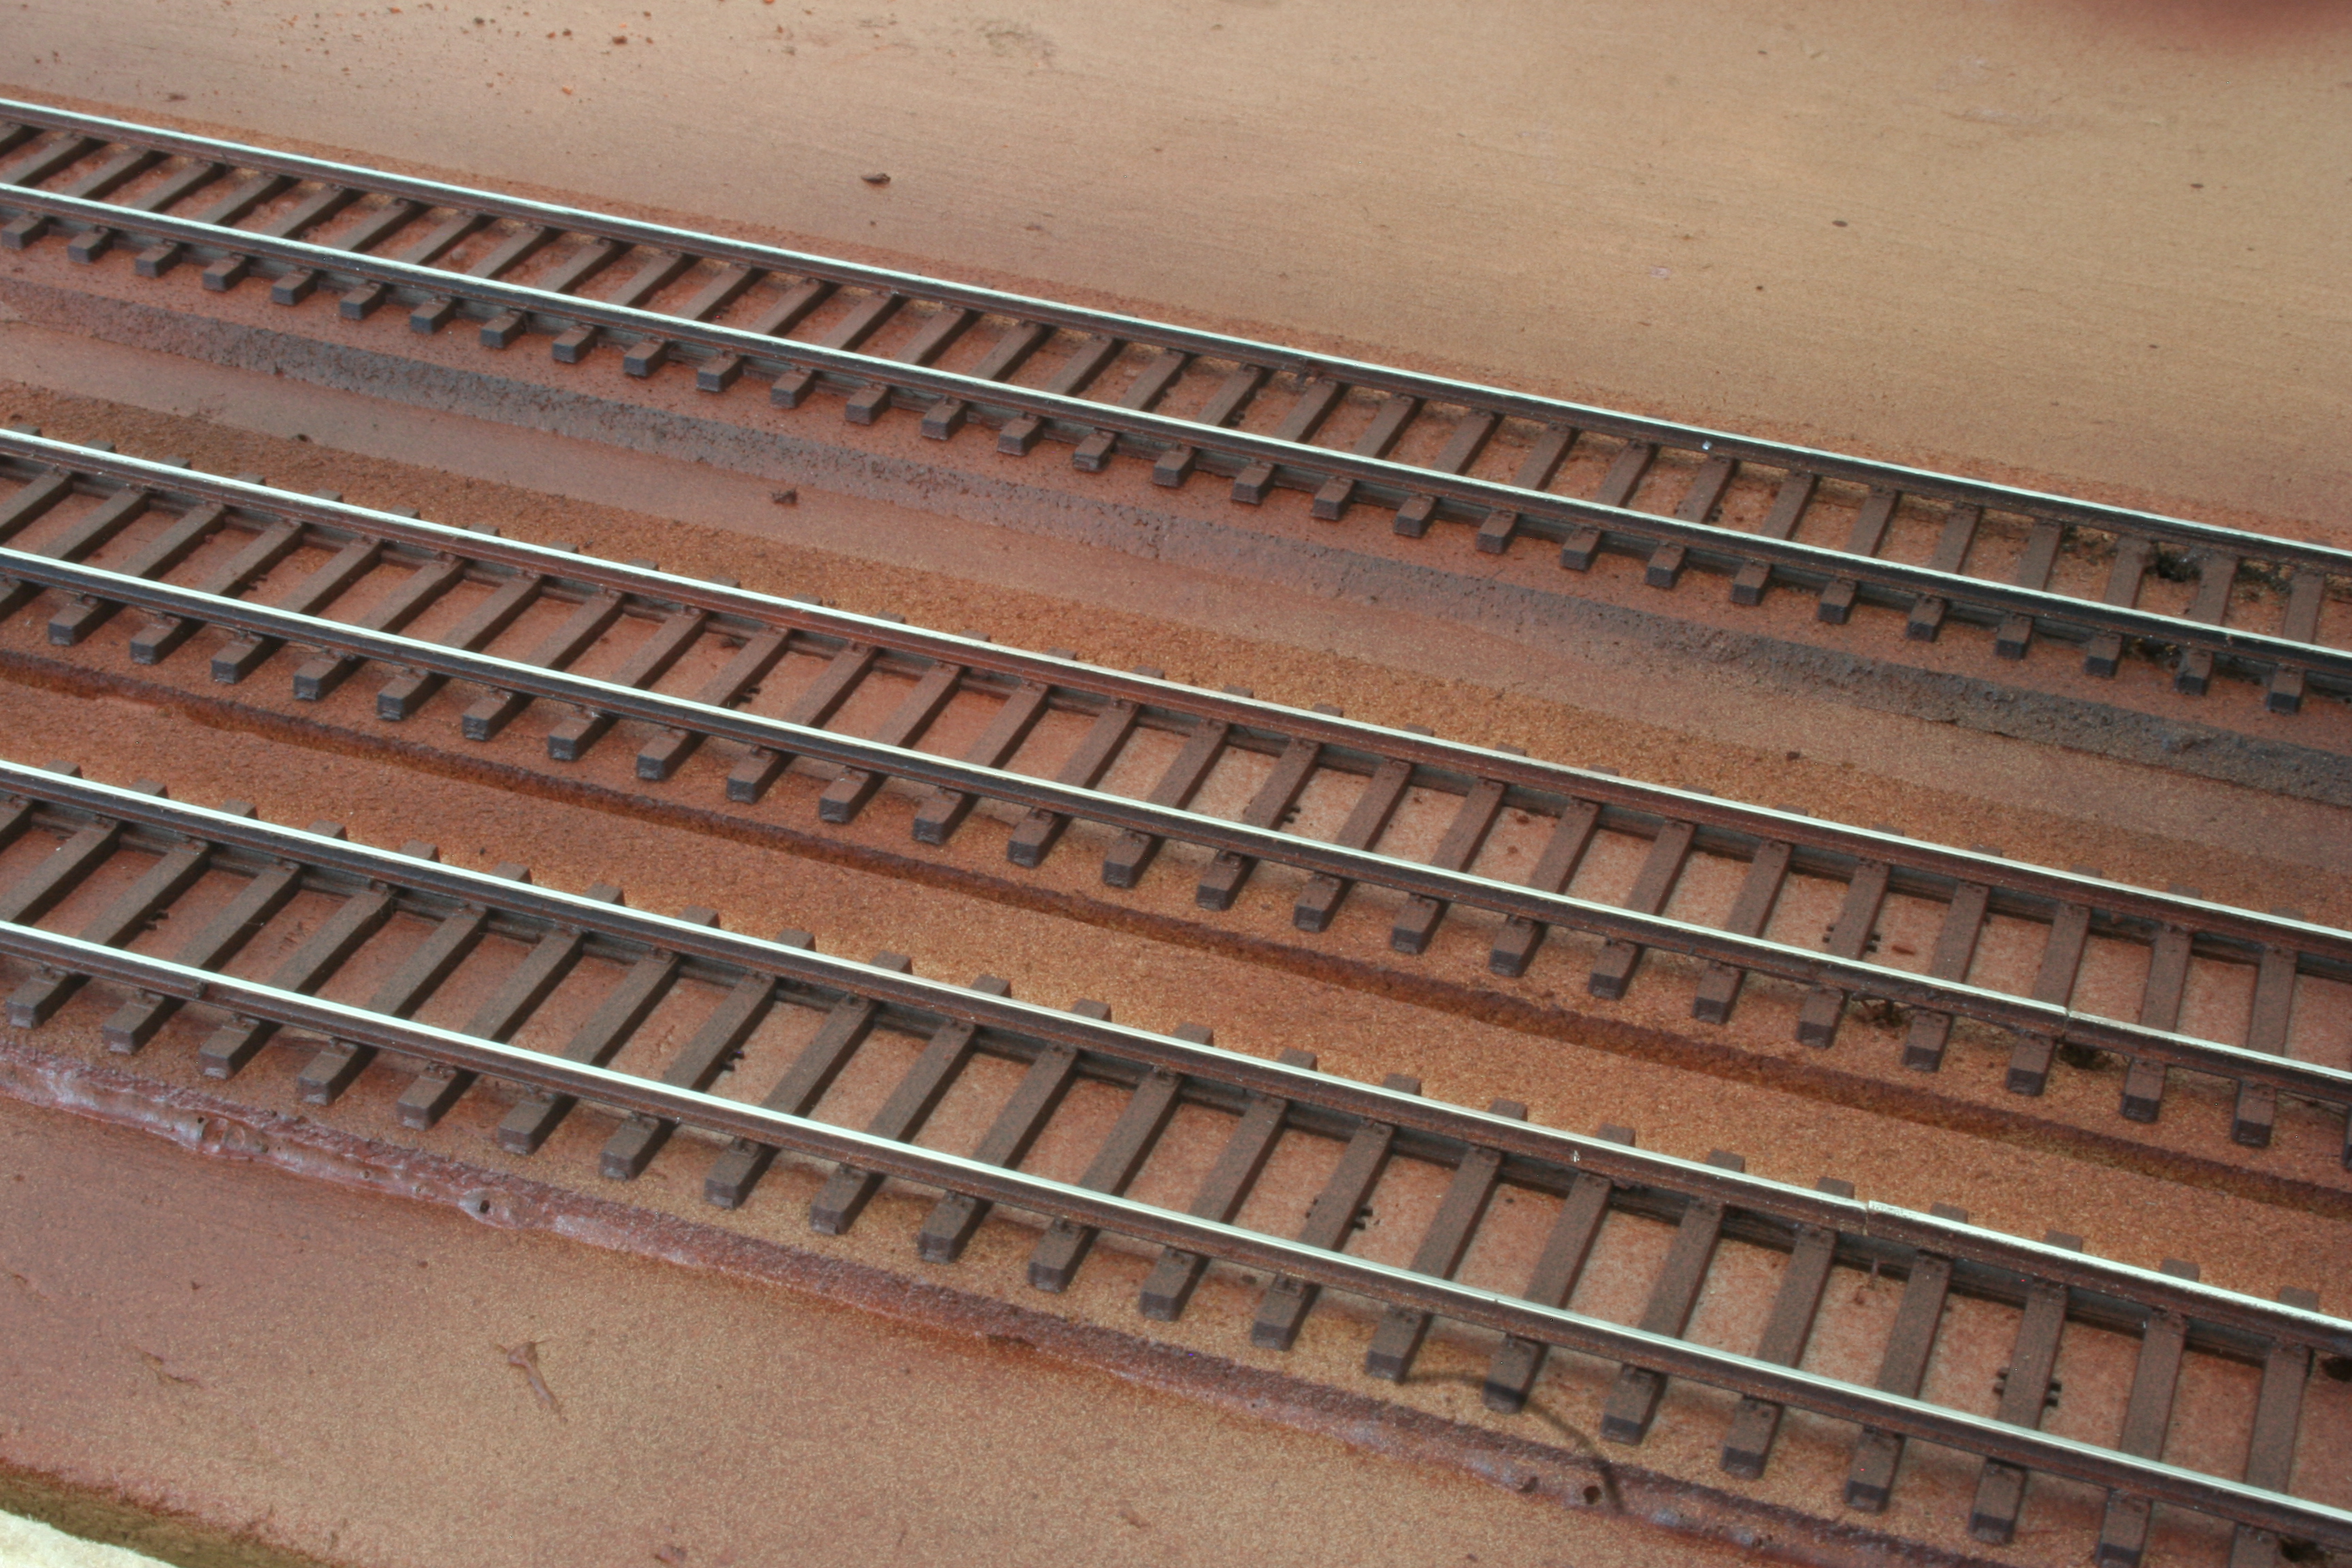
Here is the result. Last picture with a box-car doing the maiden trip.