Here is what I used
1 - Rubble I collected when they where laying the slabs for our patio. Not the sand for the actual setting bed, but what went under that. It is crushed rock in a variety of sizes.
2 - Sand from a children's sandbox, if I remember correctly.
3 - Model railroad ballast, from Arizona Rock & Mineral. This is their large scale PRR Light Gray ballast. I bought it when I built the turnout around which this layout is built. I think the stones are a little to large, and also to rounded. To use only this material gave the whole thing a kind of whimsical look. At least in my eyes. That is the reason I started to blend it with other stuff (and invented the story above to go with it).
4 - Some more model railroad ballast, this time HO ballast from a German company called minitec. Unfortunately they have gone out of business. To bad, since they did great ballast. N scale too.
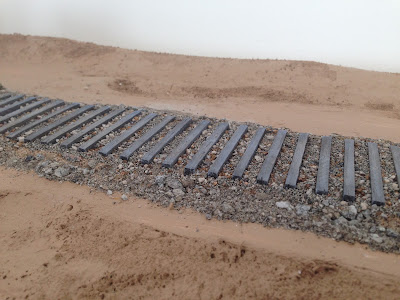
I first applied the crushed rock along the outside of the bitumen subroadbed. This is more or less just a filler, since most of it will probably by obscured by other scenic material (grass, weeds etc.). But if any of it sticks up it could give a nice effect.
Then I put done a layer of the sandbox sand between the ties. This is also more or less a filler, and serves the purpose of hiding the bitumen below, should there be any gaps in the layers above.
Next came the ballast from Az Rock & Mineral, topped off with some minitec ballast. Here is a picture showing the various steps:
And a side view:
To fix things in place I used the standard method - wet with alcohol and then soak with a mix of white glue and water. When dry it looks like this:
This was the first stretch of the main, so on to the rest! After that it is time to deal with the spur/siding, which will get a slightly different treatment. More about that later.


No comments:
Post a Comment