Wednesday, March 8, 2017

Assembling couplers

The type "E" couplers i ordered from Protocraft arrived a few days ago, and today I assembled them. As advertised, it took some filing and drilling to get the parts ready for assembly, but it was a fairly straightforward process given the detailed instructions that Norm at Protocraft sent along. So I now have one set of couplers for each of the hoppers, and one set for the engine.

Here is what (six of them) looked before assembly. Three parts each - body and shank, knuckle and lift pin.


Actually, there was a fourth part also. A small spike acting as the knuckle hinge, referred to as the "escutcheon", a word I never heard of before,

And here are the first two I assembled. The hinge spike will later be trimmed to length.


Since I do not yet have any coupler boxes I am unable to install them and cannot make any live tests. But they seem to couple and uncouple as they should when doing a simple test by hand.


Friday, February 10, 2017

Asphalt strip and growing dandelions

The dandelions I made were meant to grow along the asphalt strip I wanted along the spur. And now, when the flowers had been done, it was time to make the asphalt strip.

I made the asphalt strip using putty. When the putty was dry I created cracks in it by pressing on it, making the putty and the foam beneath give way.


I then painted the putty a gray color, using black, diluted to gray, from an ordinary children's watercolor set. And then it was time the plant the dandelions and add other weeds and grass. Here are few pictures of the result.


Thursday, February 9, 2017

Better dandelions

My last post showed how I created some dandelions, and it ended with me saying that I was quite satisfied with the result. Apparently that was not true, 'cause I could not stop thinking about how to do them better.

The problem was that the actual flowers were too large. The blobs of sawdust and glue that was the base for the yellow chalk powder where simply too big. And they were difficult to form and handle. I needed a better base for the chalk. This is what I did.

I cut off the old flowers, and also generally shortened the stems, since the plants were too high as well. I then cut short pieces of green wire insulation and slid on to the top of the stems, secured by CA. Once the CA had set I cut the insulation pieces even shorter, like this:


Then I dabbed some more CA on the top of the insulation pieces and dipped them in the yellow chalk. The result was this:


In the picture they look rather similar to the ones I did yesterday, and they are, but they are actually not that high and the flowers are considerably smaller. Overall, a much better O scale dandelion "impersonation".

Wednesday, February 8, 2017

Dandelions

I'm working an an asphalt patch along the spur, and decided I needed some dandelions along with the other weeds surrounding it. So I sat out to create some dandelions.

I started with some grass tufts I think I got in a Noch package.


I added pieces of sisal fibers to act as stems, which i secured with CA.


I then made a mix of saw dust, wet alcohol, and diluted white glue. The idea was to take a small amount of this goo and attach to the top of each stem. This would form the actual flower.


Last I made the flowers yellow by dipping them, in yellow chalk powder.


They may not look exactly like dandelions, but once on the layout and viewed from a distance I think they will do. We'll see.

Thursday, February 2, 2017

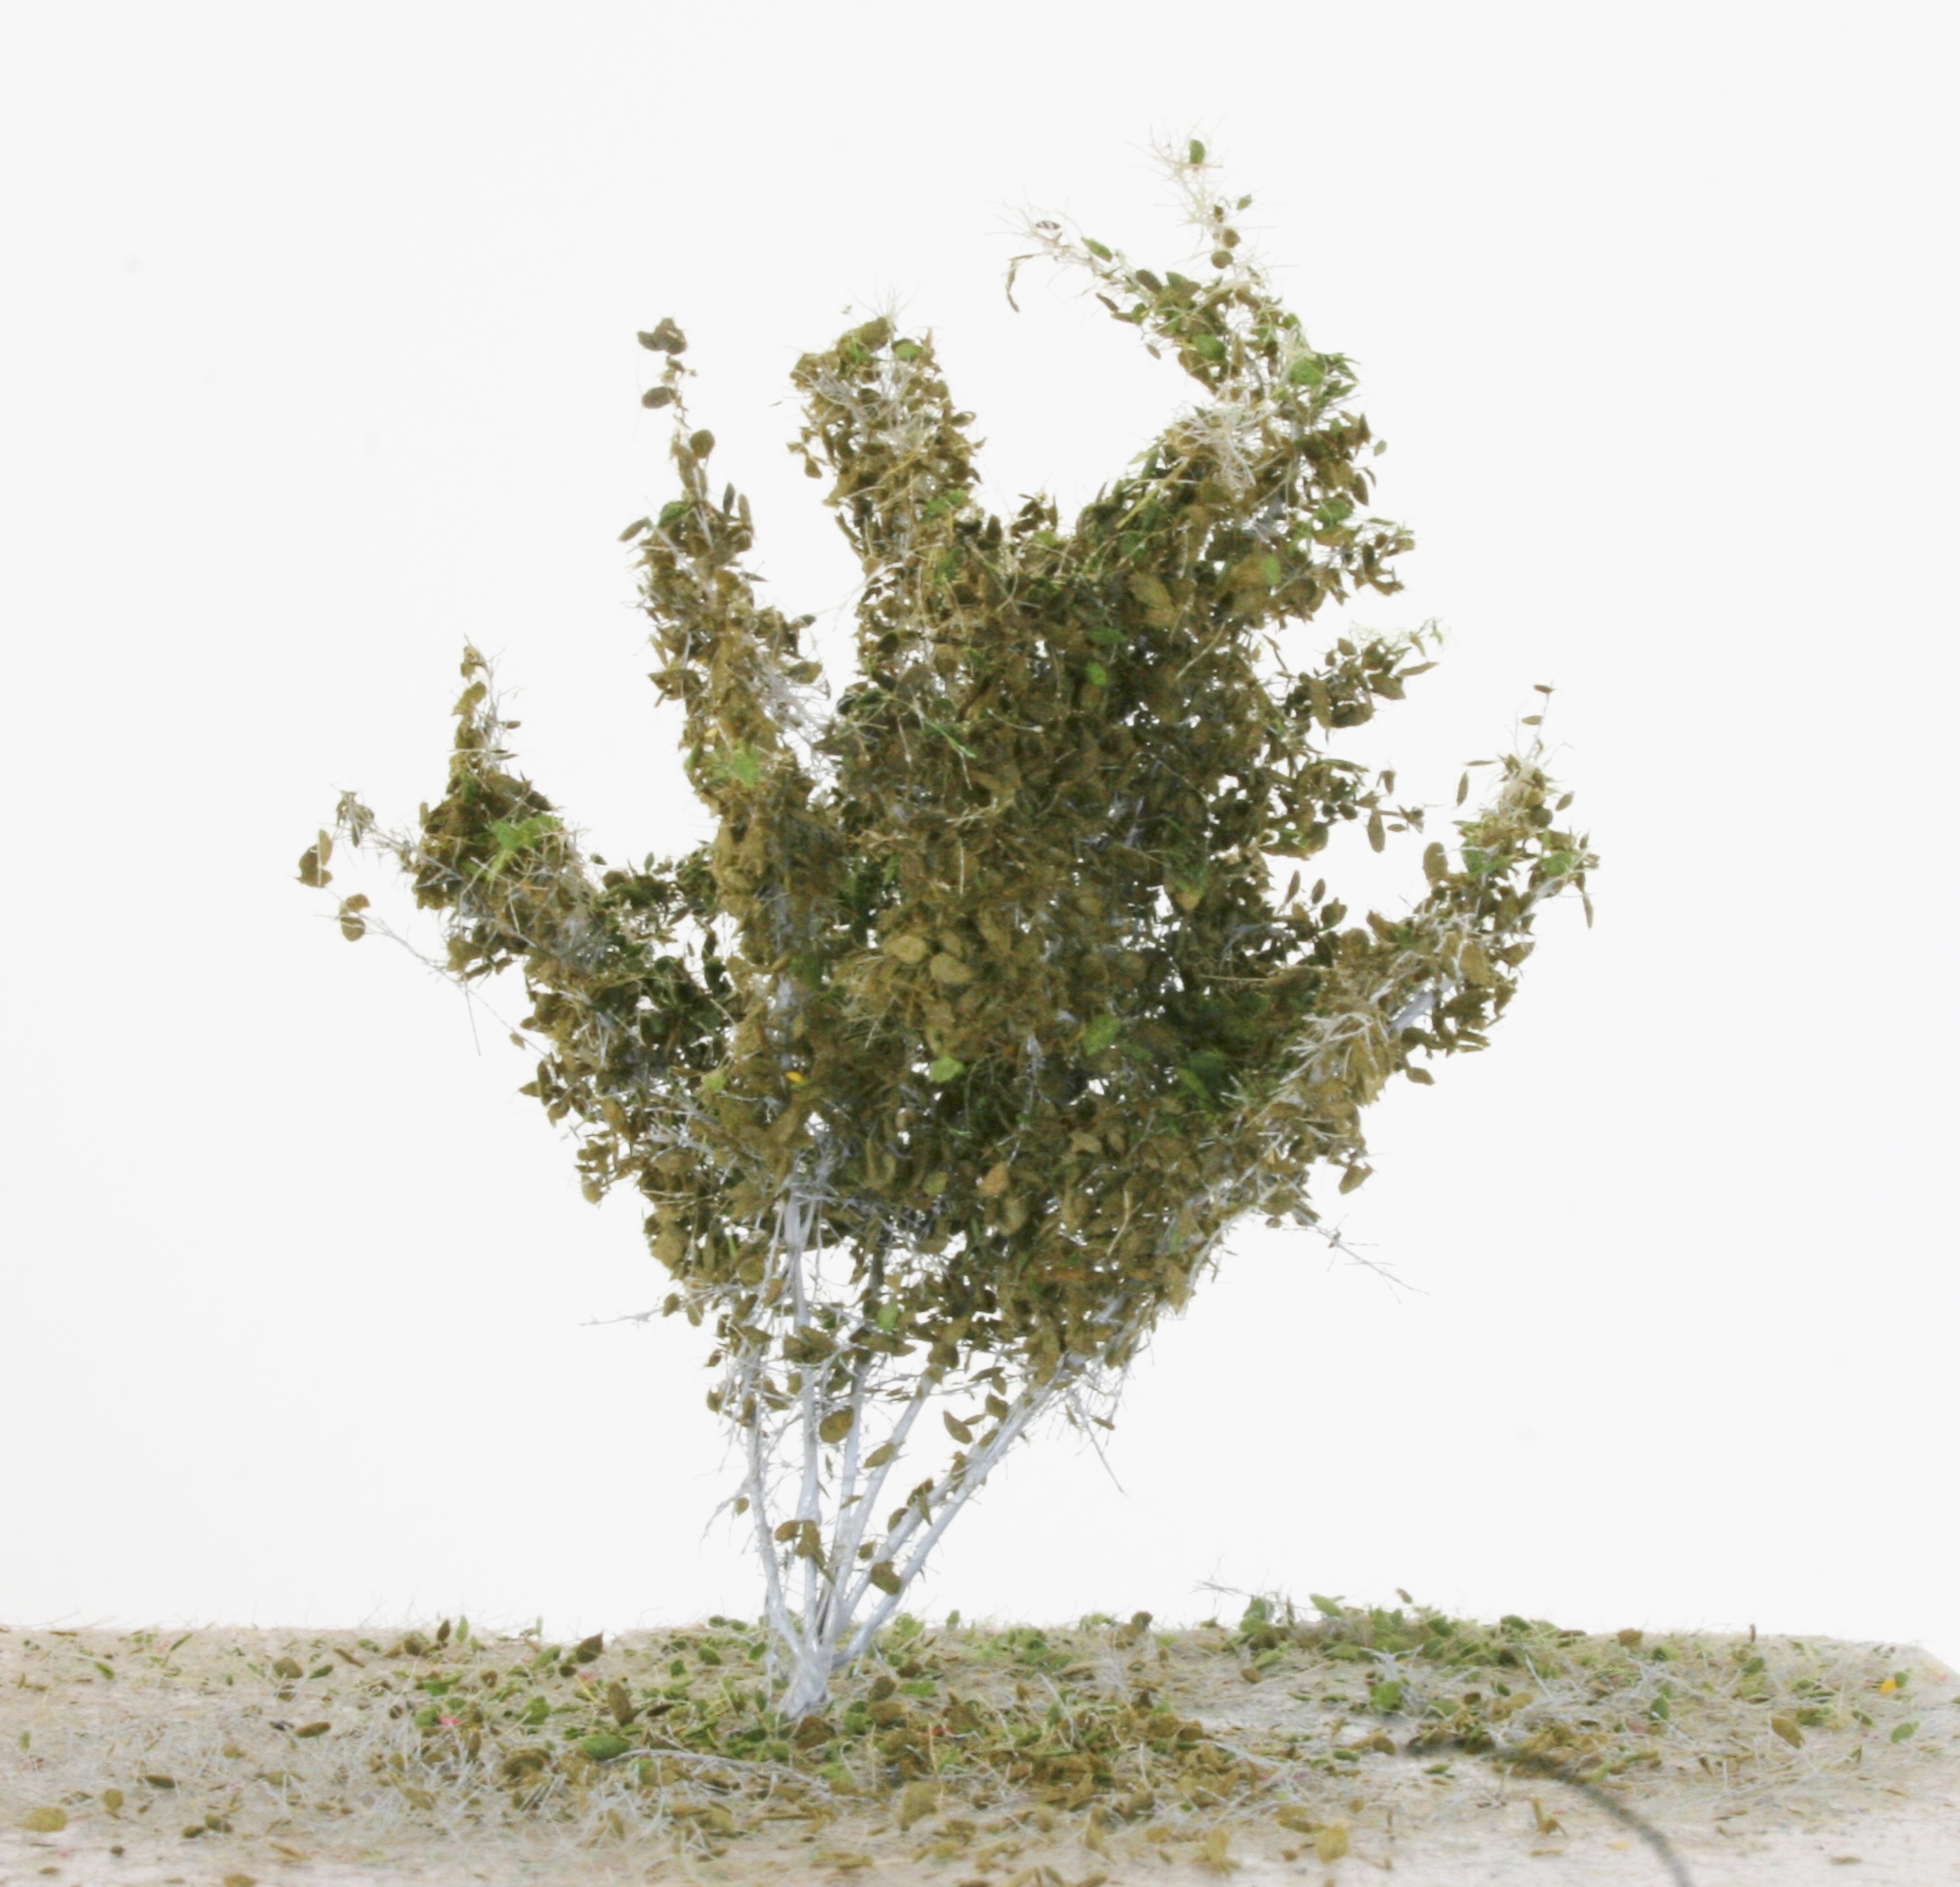
A larger bush

I have practised some more on making trees and bushes, with varying result. But I thought I should share the process leading to my latest creation - a somewhat larger bush.

I started out with some sisal fibres which I cut in approximately 5-7 cm (2-3 inch) lengths. The fibres where then assembled into a mat like structure using a piece of folded wire. Like this:


To make the fibers stand up straight I folded them along the wire, and clamped them upside down (wire up) in my Work Mate. Only the bottom, folded end, is sticking up.


To make the folding last I soaked the fibres with glue. I used ordinary PVA glue.


Once the glue had set I could remove the bush-to-be from the Work Mate, and now it looked like this, after being turned bottom down.


I then spread the fibres to make the bush wider and give it a more "bushy" form. I also did some trimming to get rid of the longest fibres, I also sprayed the underside a grey color, to make the fibres there look more like stems.


Next step was to add some static grass fibres. They provides more slender branches, and also make a more denser base for the foliage to come. I used 6 mm (1/4 inch) fibres, secured with hair spray.


Finally I added some foliage, namely Noch light green leaves.


Last some picture with this bush planted on the layout, behind the fence. Outside the fence are some smaller bushes I did using the same technique.


Tuesday, July 26, 2016

More trees and bushes

I've busied myself doing some more trees and bushes. Here are a few pics.


Thursday, July 7, 2016

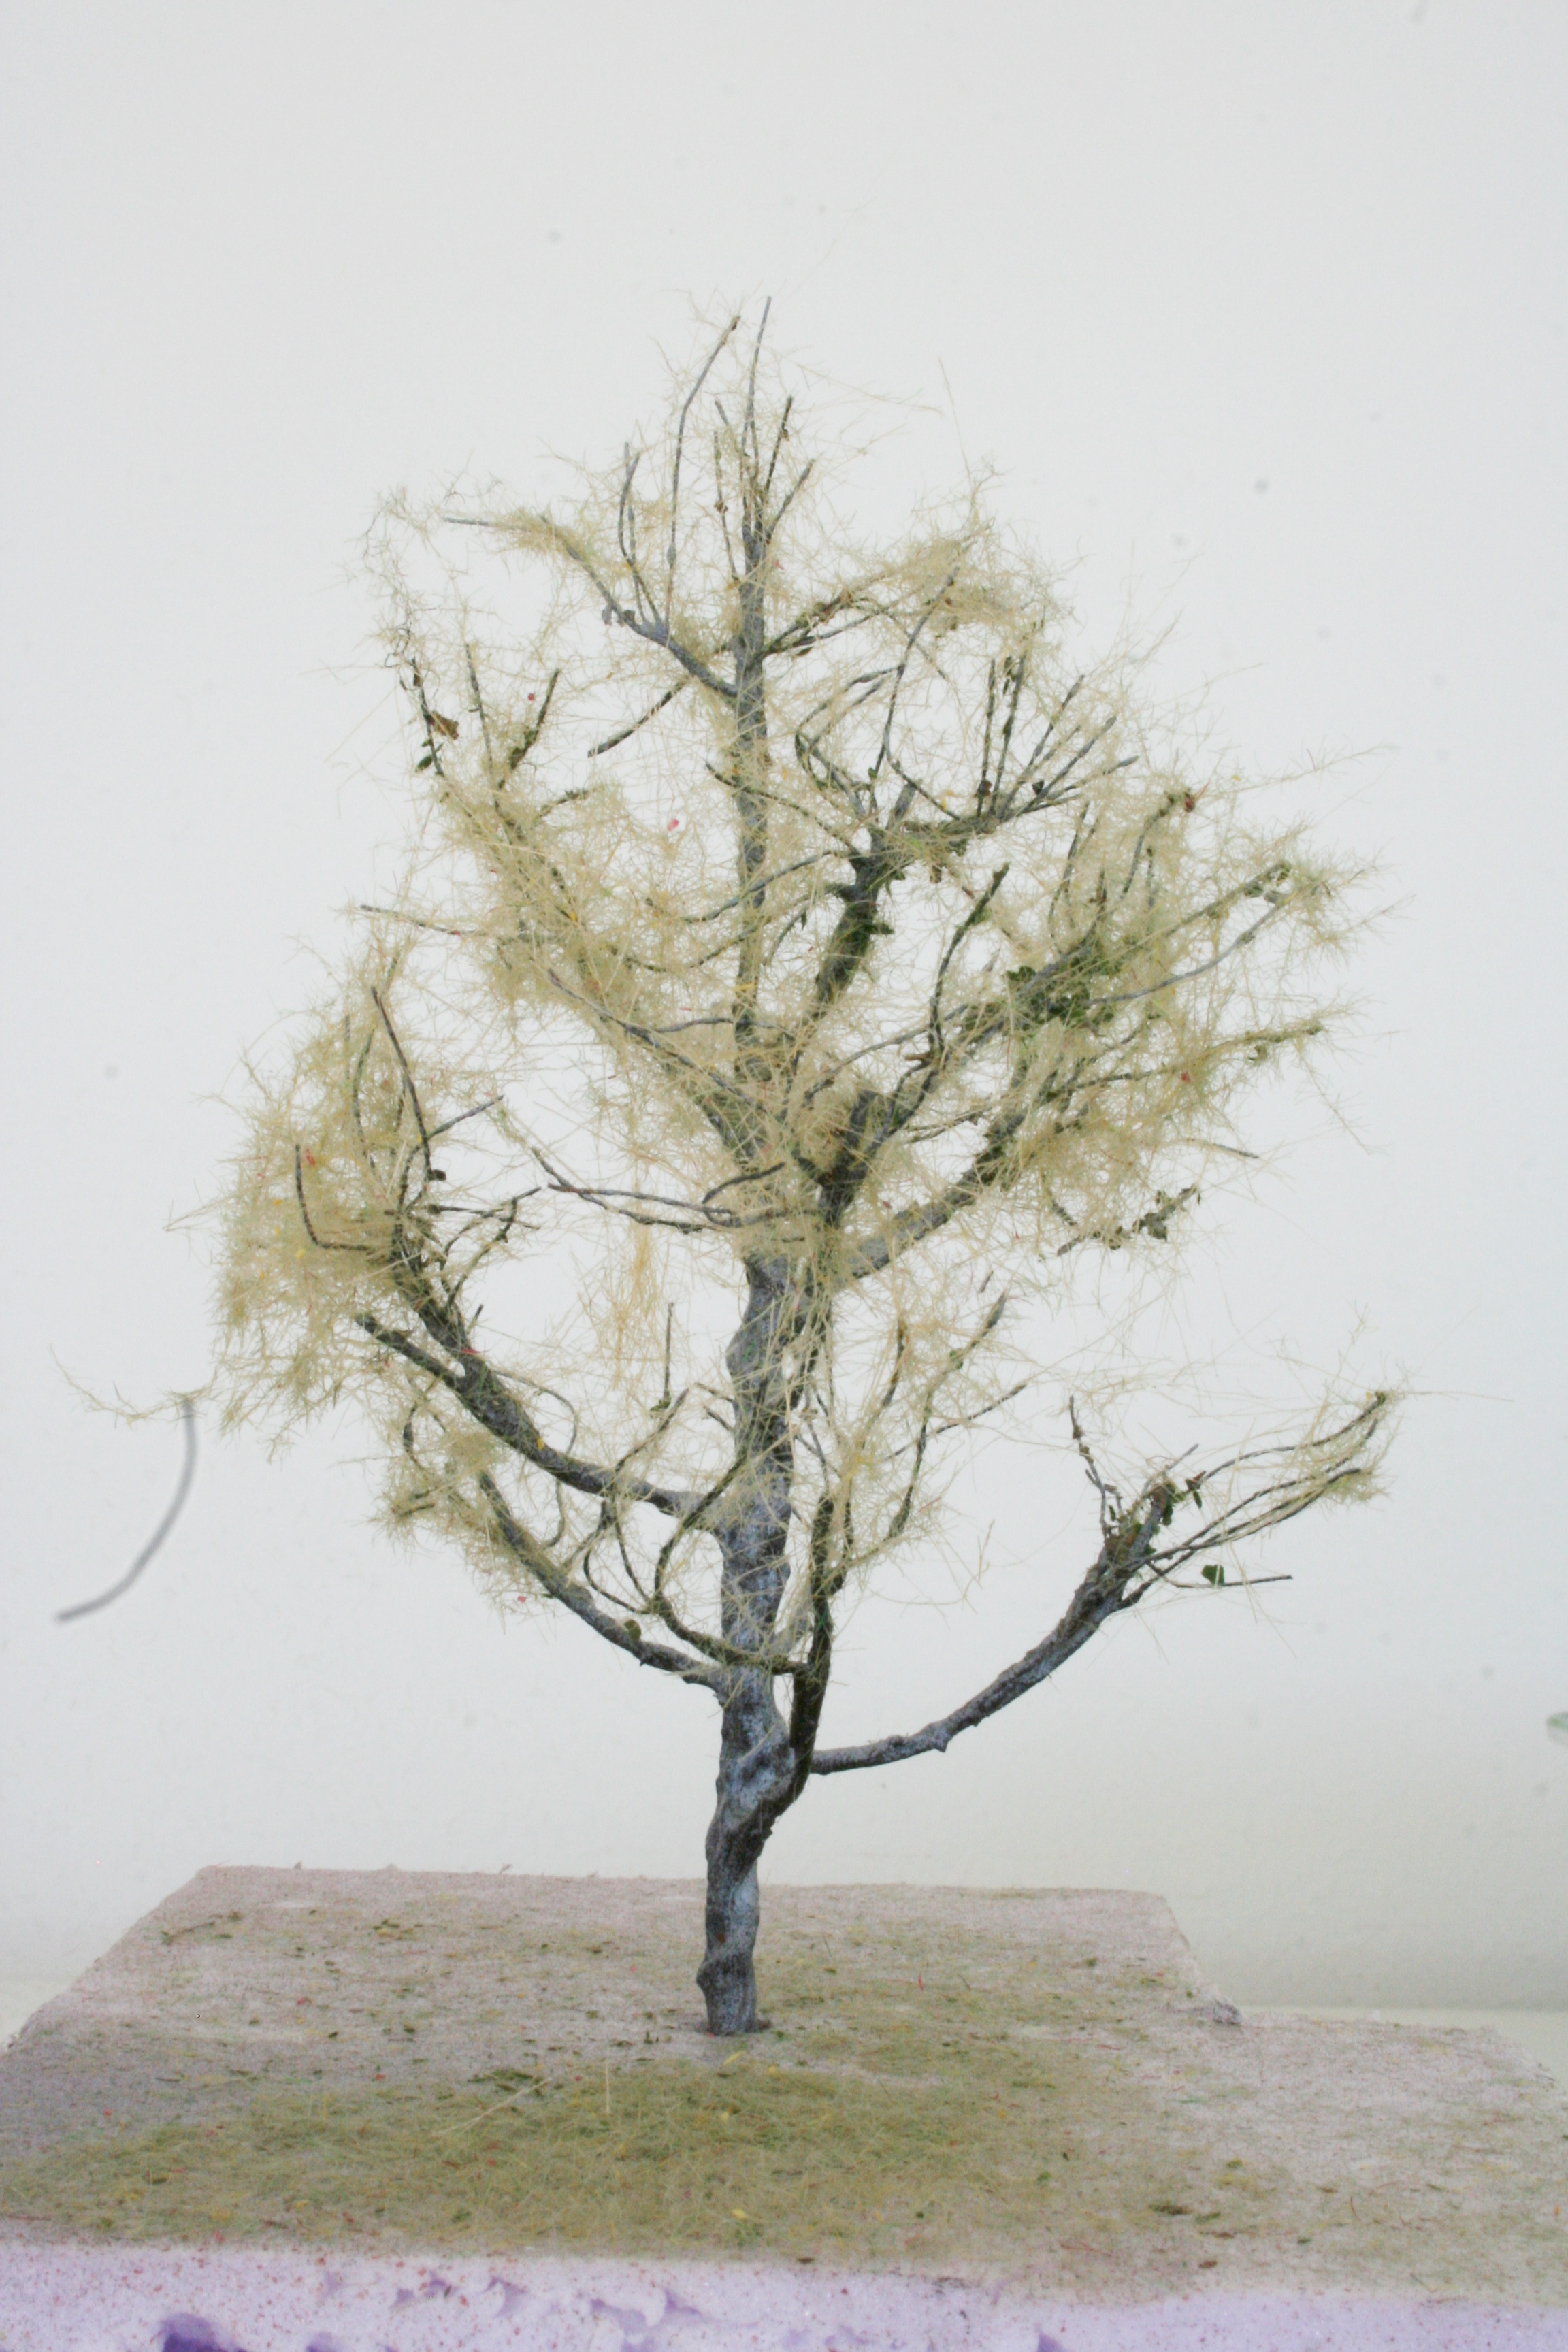
A tree and a bush, and with leaves

Today I made an attempt to make a tree and a bush using Noch Leaves. Here is the result.


I think it came out quite good. But I did not arrive at this result at the first attempt. Here is the story, albeit in a somewhat condensed form.

I started out with the small wire tree I did some time back. It just had a few brown leaves, like this.


My first try to add leaves included wads of fiber as a foundation for the leaves to come. The fibers were also spray painted with gray, brown and black colors. At this point, everything looked promising.


On came the leaf material, and although the leaves themselves were OK, the overall impression was not that convincing. It looked as if someone had draped the trunk and the branches in a green coat. It was simply to dense, and did not have that airy look of a real tree.


In my head I had the pictures of the superb trees made by Jos Geurts, and as shown here as well as on other places on the net. So how does he do it?

Turns out he does not use wads of fiber, as I falsely remembered, but loose fibers. First sisal fibers and then static grass fibers. So I ripped the over-coat off the tree, and sat out to try doing it in the same way as Jos.

First I sprayed the bare tree with hair spray and sprinkled on some fibers, which barely shows in the first picture. This is followed by some 2 mm static grass fibers, and last Noch Mid Green leaves (07144).


Much better! Far from Jos' excellent trees, but I'm happy with the result. Looks more airy and lighter than the first tree.

While I was at it, I also made a bush from some wire strands. Here it is, first with the two applications of fibers, and then after adding Noch Olive Green leaves (07140).


And once again, planted on the layout.