Wednesday, November 7, 2012

Retaining wall

I needed a break from all the tie plate weathering and decided to do the retaining wall between the main line and the yard. I had already obtained two Chooch H0 Medium Cut flexible stone walls for that purpose, and was eager to try them out.

The walls are made of some rubber like material and are already painted and weathered. And they are self adhesive. They are easily cut with scissors or a hobby knife. I used both types of tools to cut them to height and stick them to the foam.


I cut three lower walls from each Chooch wall section, for a total of six lengths.

I used 1/8" styrene channel to simulate concrete slabs lying in a row on the top of the walls. I scribed the styrene at 1 centimeter (about 1/3") intervals to simulate the individual slabs.


Then I cemented the channels on top of the wall sections.


Last I brush-painted the styrene with a mixture of light gray and tan colors. Once the paint was dry I followed up with some black weathering powder.


I think the slabs blend nicely with the stones in the wall. Looking closely at the photos I realize the walls would benefit from an over-spray of a flat varnish or similar, to kill the sheen.

An easy and rewarding project. Thanks for looking.

Monday, October 29, 2012

Another go at the hardware

I made another go at applying rust to the tie plates. This time with oil paints. A mix of umber and ochre.


This time the rust stayed on the tie plates and did not spread all over the place. But still a little to distinct perhaps. Needs to be toned down a bit, maybe with some powder. But that has to wait until the paint has dried. Or just a darker rust color?

Sunday, October 28, 2012

Weathering track

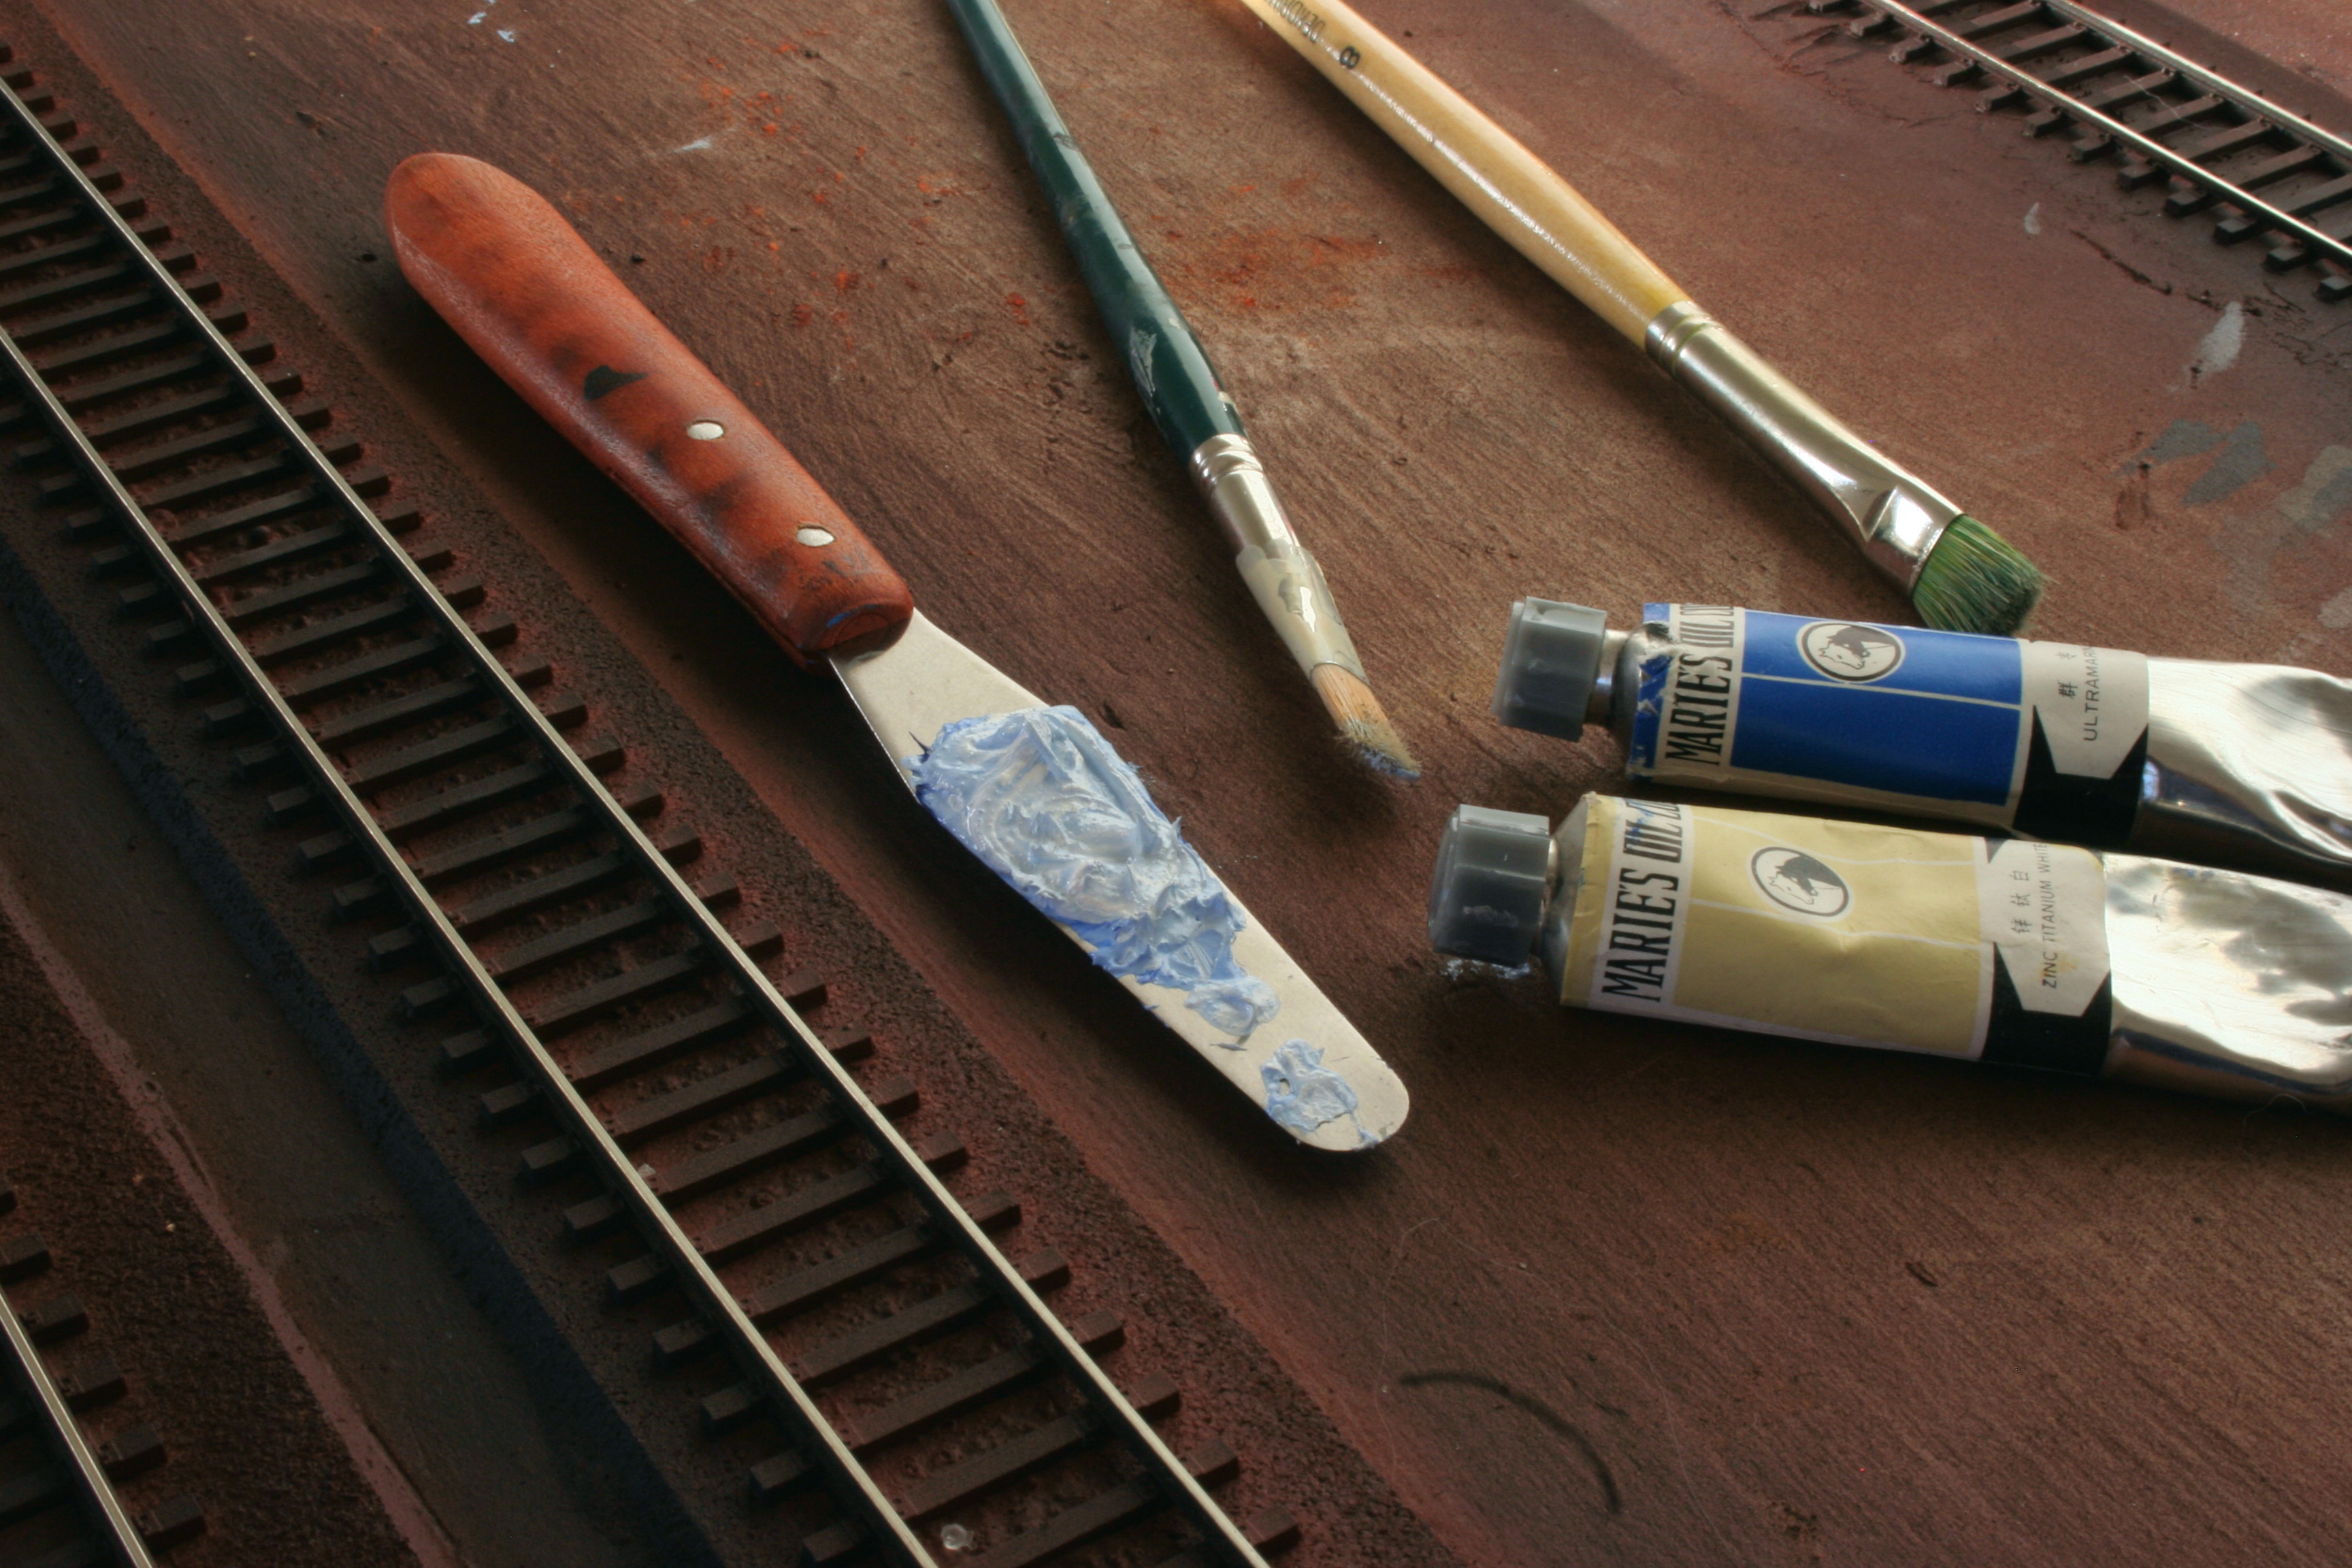
I have continued the track weathering task. This weekend I tried to age the ties by giving them a gray, and hopefully sun-bleached look. For this purpose I used titanium white and ultramarine blue oil paints. I mixed a larger blob of white with a smaller blob of blue, resulting in a pale blue mix.


I then sort of dry-brushed that mixture on to the ties, which gave them a light gray tone. I tried to not give all the ties the same amount of paint, but strived for some variety. I'm not sure if that was a successful attempt or not.


When I finally had painted all the track, I could not resist a quick test with my new weathering powders. I applied some rust on some of the tie plates, but think I perhaps was a little to generous with the powder. I need to apply the rust more sparingly.


Thanks for looking.


Wednesday, October 24, 2012

Painted points

When spray painting the track, as I showed in the previous post, I had covered the point areas with masking tape, since I did not want any paint to cause the moving points to stuck. So the next obvious step was to brush paint those areas.

I used the same approach as when spray painting - first some reddish/brownish paint, and then a thin layer of black. I used box car red followed by grimy black.

But before painting I replaced the CVT tie blocks with some I did from leftover CVT ties. The original CVT blocks where simply too long to fit between parallel tracks.

Here is a shot of the result.


Next I will use oil paints to add some individuality, and "old age gray", to the ties. And some rust on the spikes and tie plates. More on that in a future post.

Sunday, October 14, 2012

Painting track

For no apparent reason nothing has been accomplished on the layout lately. But yesterday I all of a sudden found myself standing in front of it, with spray cans in hand. Time to paint the track.

Since I was satisfied with track weathering tests I did earlier I proceeded along the same lines. This meant I started by spray painting everything a brownish red color (after having covered the switch point and throwbar areas with masking tape). Like this.


In the picture above I have not only painted the track, I have also cleaned the rail tops. I did that although I was not yet done with the spraying, but I though it wiser to clean one layer of paint at the time, rather than two layers later.

Today I sprayed the track with a black paint, followed by a flat varnish. here is the result, after I removed the switch point masking tape.


Then it was time to clean the rail tops again. I had earlier, by pure chance, that small pieces of MDF board could be used for this purpose. With the advantage that when eventually too dirty, you can simply clean with a few strokes of an ordinary rasp or file.


And here it is all done, more or less.


The next step will be to brush paint the switch point areas.

Sunday, September 9, 2012

Photo container

Inspired by Lance Mindheim, I sat to build some containers from styrene and photos of actual containers. The first thing to do was of course to get some photos, and this time I did not have to look far since a couple of days ago a pair of 20 ft containers were put down at a construction site near my home. Today I went there to take some photos. Here is one of them.


Once back home I fired up an image processing program on my computer (GIMP 2, a freeware program). Using its "perspective" tool I made the container images square. I then, after some struggling with the software, managed to print them in the correct H0 size.

I then built a container sized box from 1mm sheet styrene. Here is the box, and some of the printed and photos, cut to size.


Then all that was left was to glue the photos to the box, like this.


I could do some adjustments at the corners, where the photos partly overlap, but apart from that I think it came out nicely.

Edit: I could also have used better paper and printed at a higher resolution. Now I used ordinary letter paper and standard "everyday" printing settings.


Sunday, September 2, 2012

Track Weathering, part 2

Today I tried to fade the red and yellow tones on the ties. I used a mix of  white and ultra-marine, which I dry brushed on the ties. Looks better I think. A more aged look.


So now I can proceed and spray and weather the rest of the track - about 99% more than this little test stretch.