Thursday, July 7, 2016

A tree and a bush, and with leaves

Today I made an attempt to make a tree and a bush using Noch Leaves. Here is the result.


I think it came out quite good. But I did not arrive at this result at the first attempt. Here is the story, albeit in a somewhat condensed form.

I started out with the small wire tree I did some time back. It just had a few brown leaves, like this.


My first try to add leaves included wads of fiber as a foundation for the leaves to come. The fibers were also spray painted with gray, brown and black colors. At this point, everything looked promising.


On came the leaf material, and although the leaves themselves were OK, the overall impression was not that convincing. It looked as if someone had draped the trunk and the branches in a green coat. It was simply to dense, and did not have that airy look of a real tree.


In my head I had the pictures of the superb trees made by Jos Geurts, and as shown here as well as on other places on the net. So how does he do it?

Turns out he does not use wads of fiber, as I falsely remembered, but loose fibers. First sisal fibers and then static grass fibers. So I ripped the over-coat off the tree, and sat out to try doing it in the same way as Jos.

First I sprayed the bare tree with hair spray and sprinkled on some fibers, which barely shows in the first picture. This is followed by some 2 mm static grass fibers, and last Noch Mid Green leaves (07144).

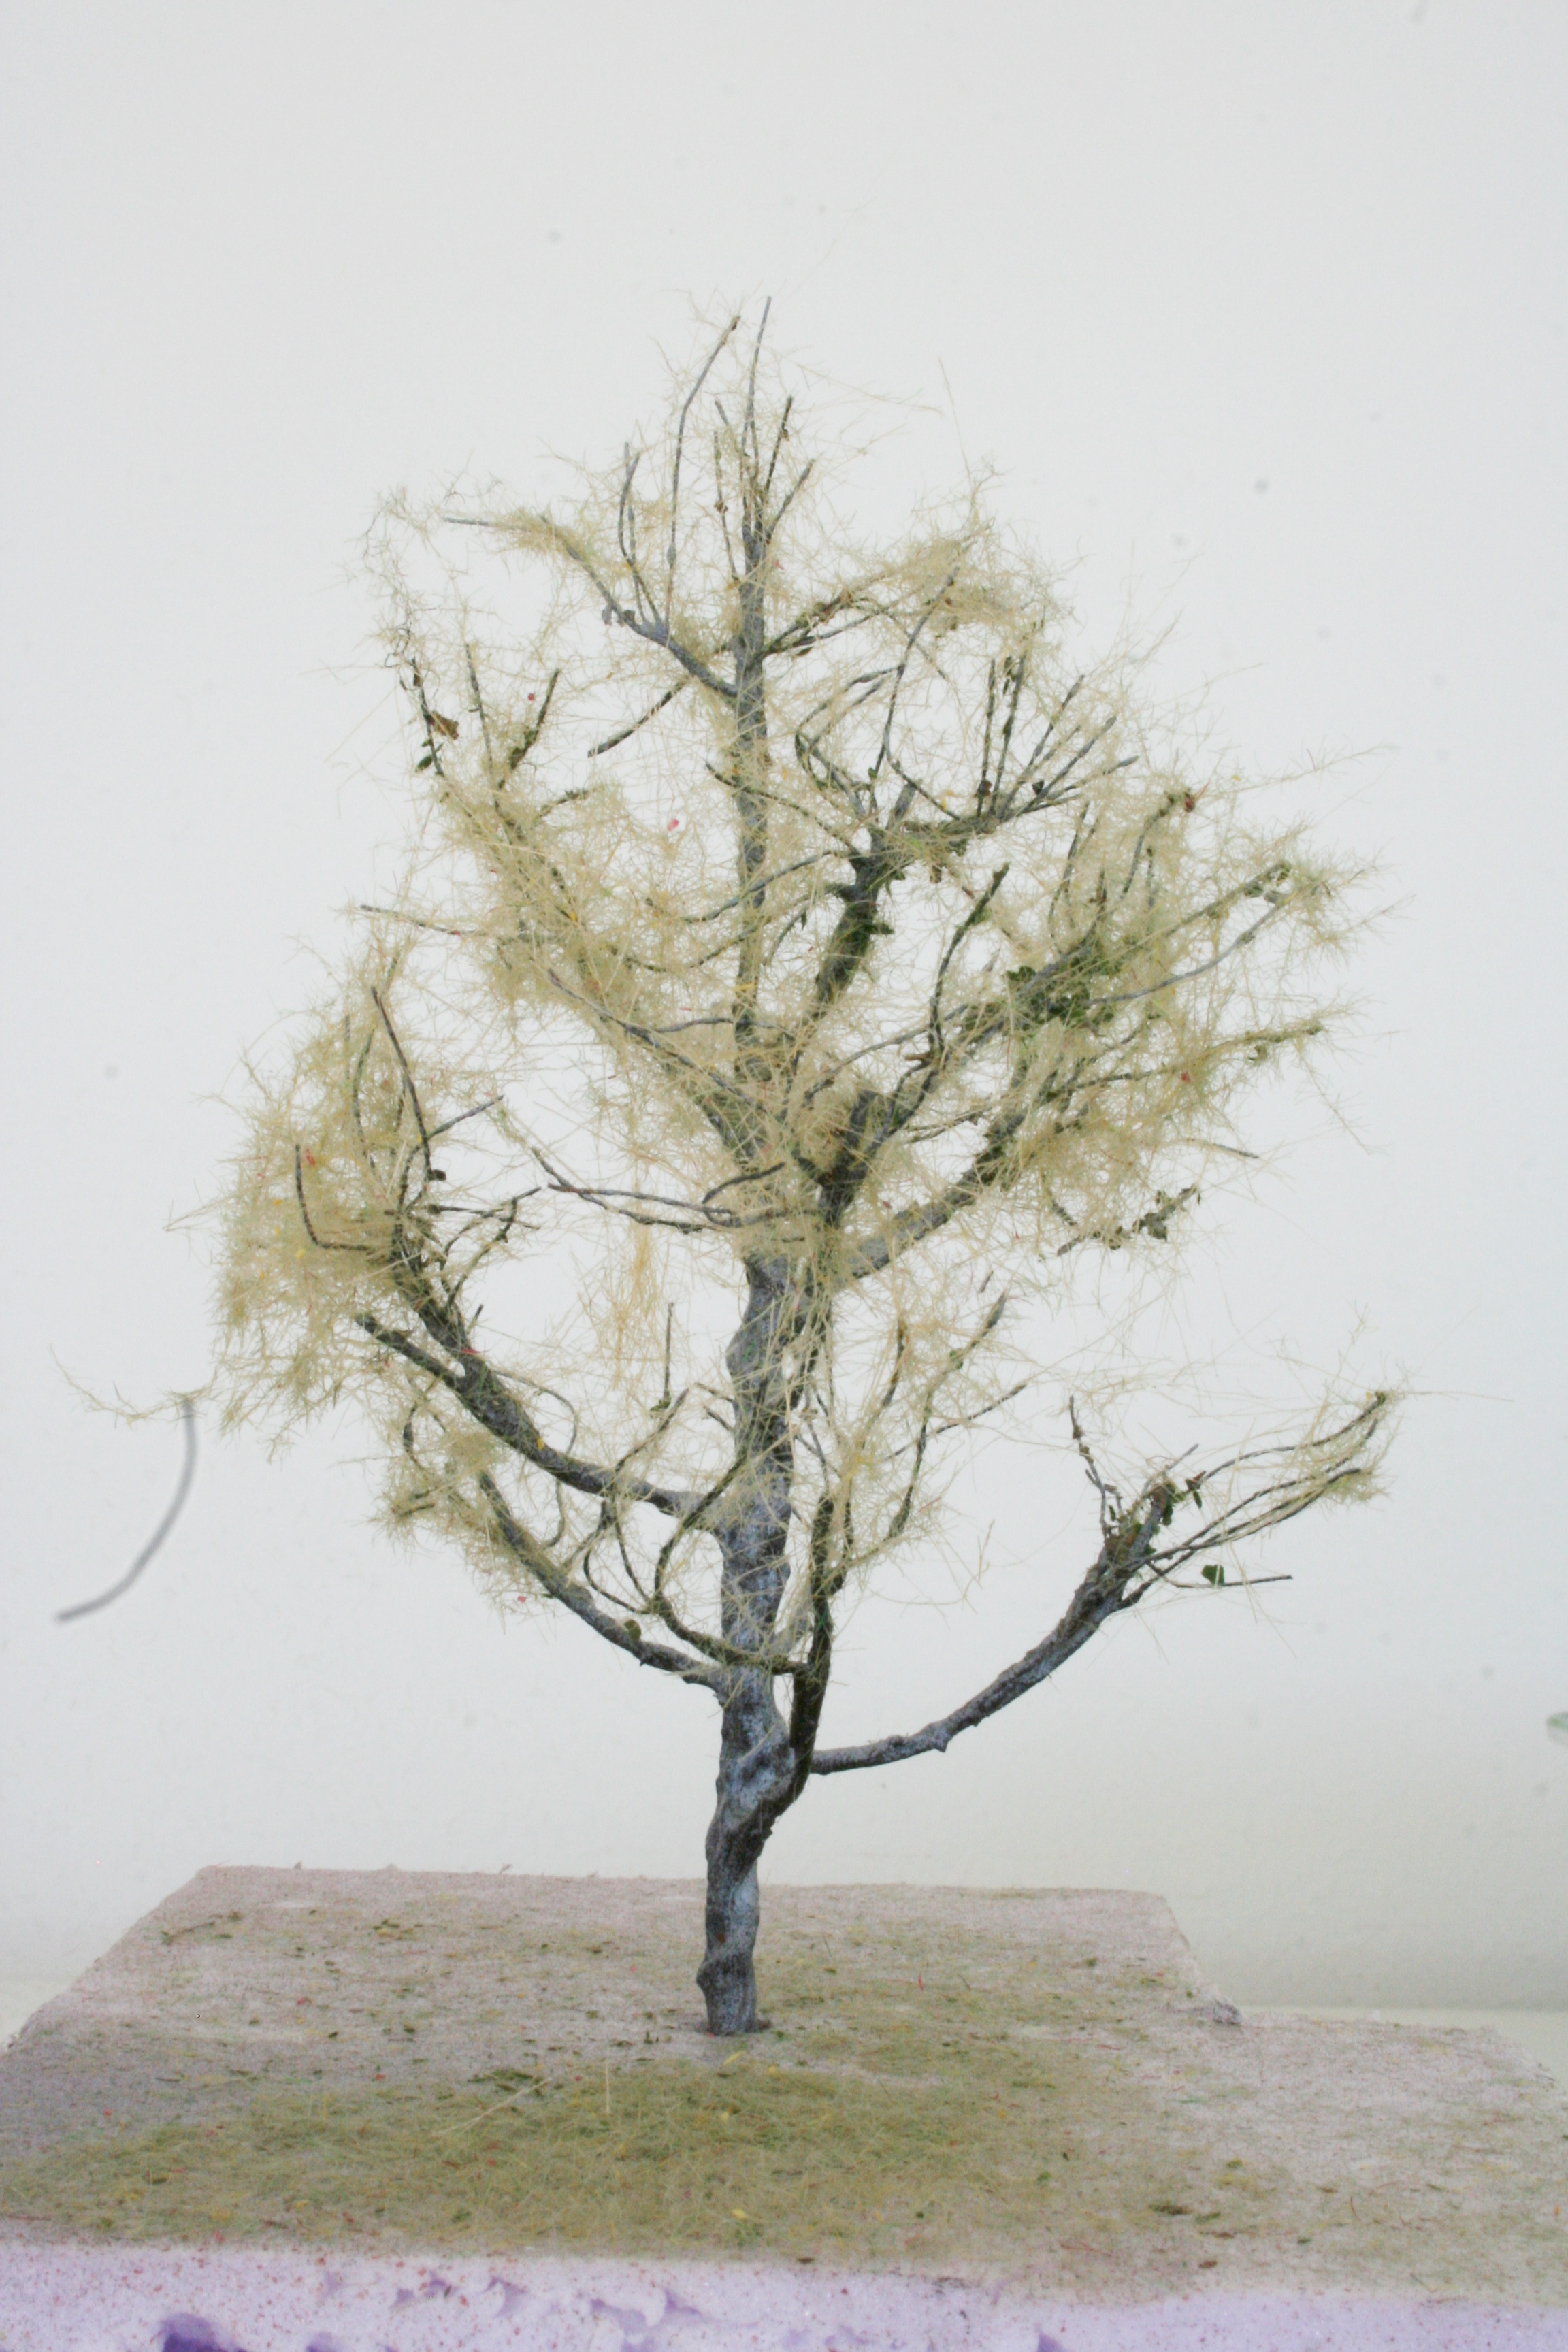


Much better! Far from Jos' excellent trees, but I'm happy with the result. Looks more airy and lighter than the first tree.

While I was at it, I also made a bush from some wire strands. Here it is, first with the two applications of fibers, and then after adding Noch Olive Green leaves (07140).

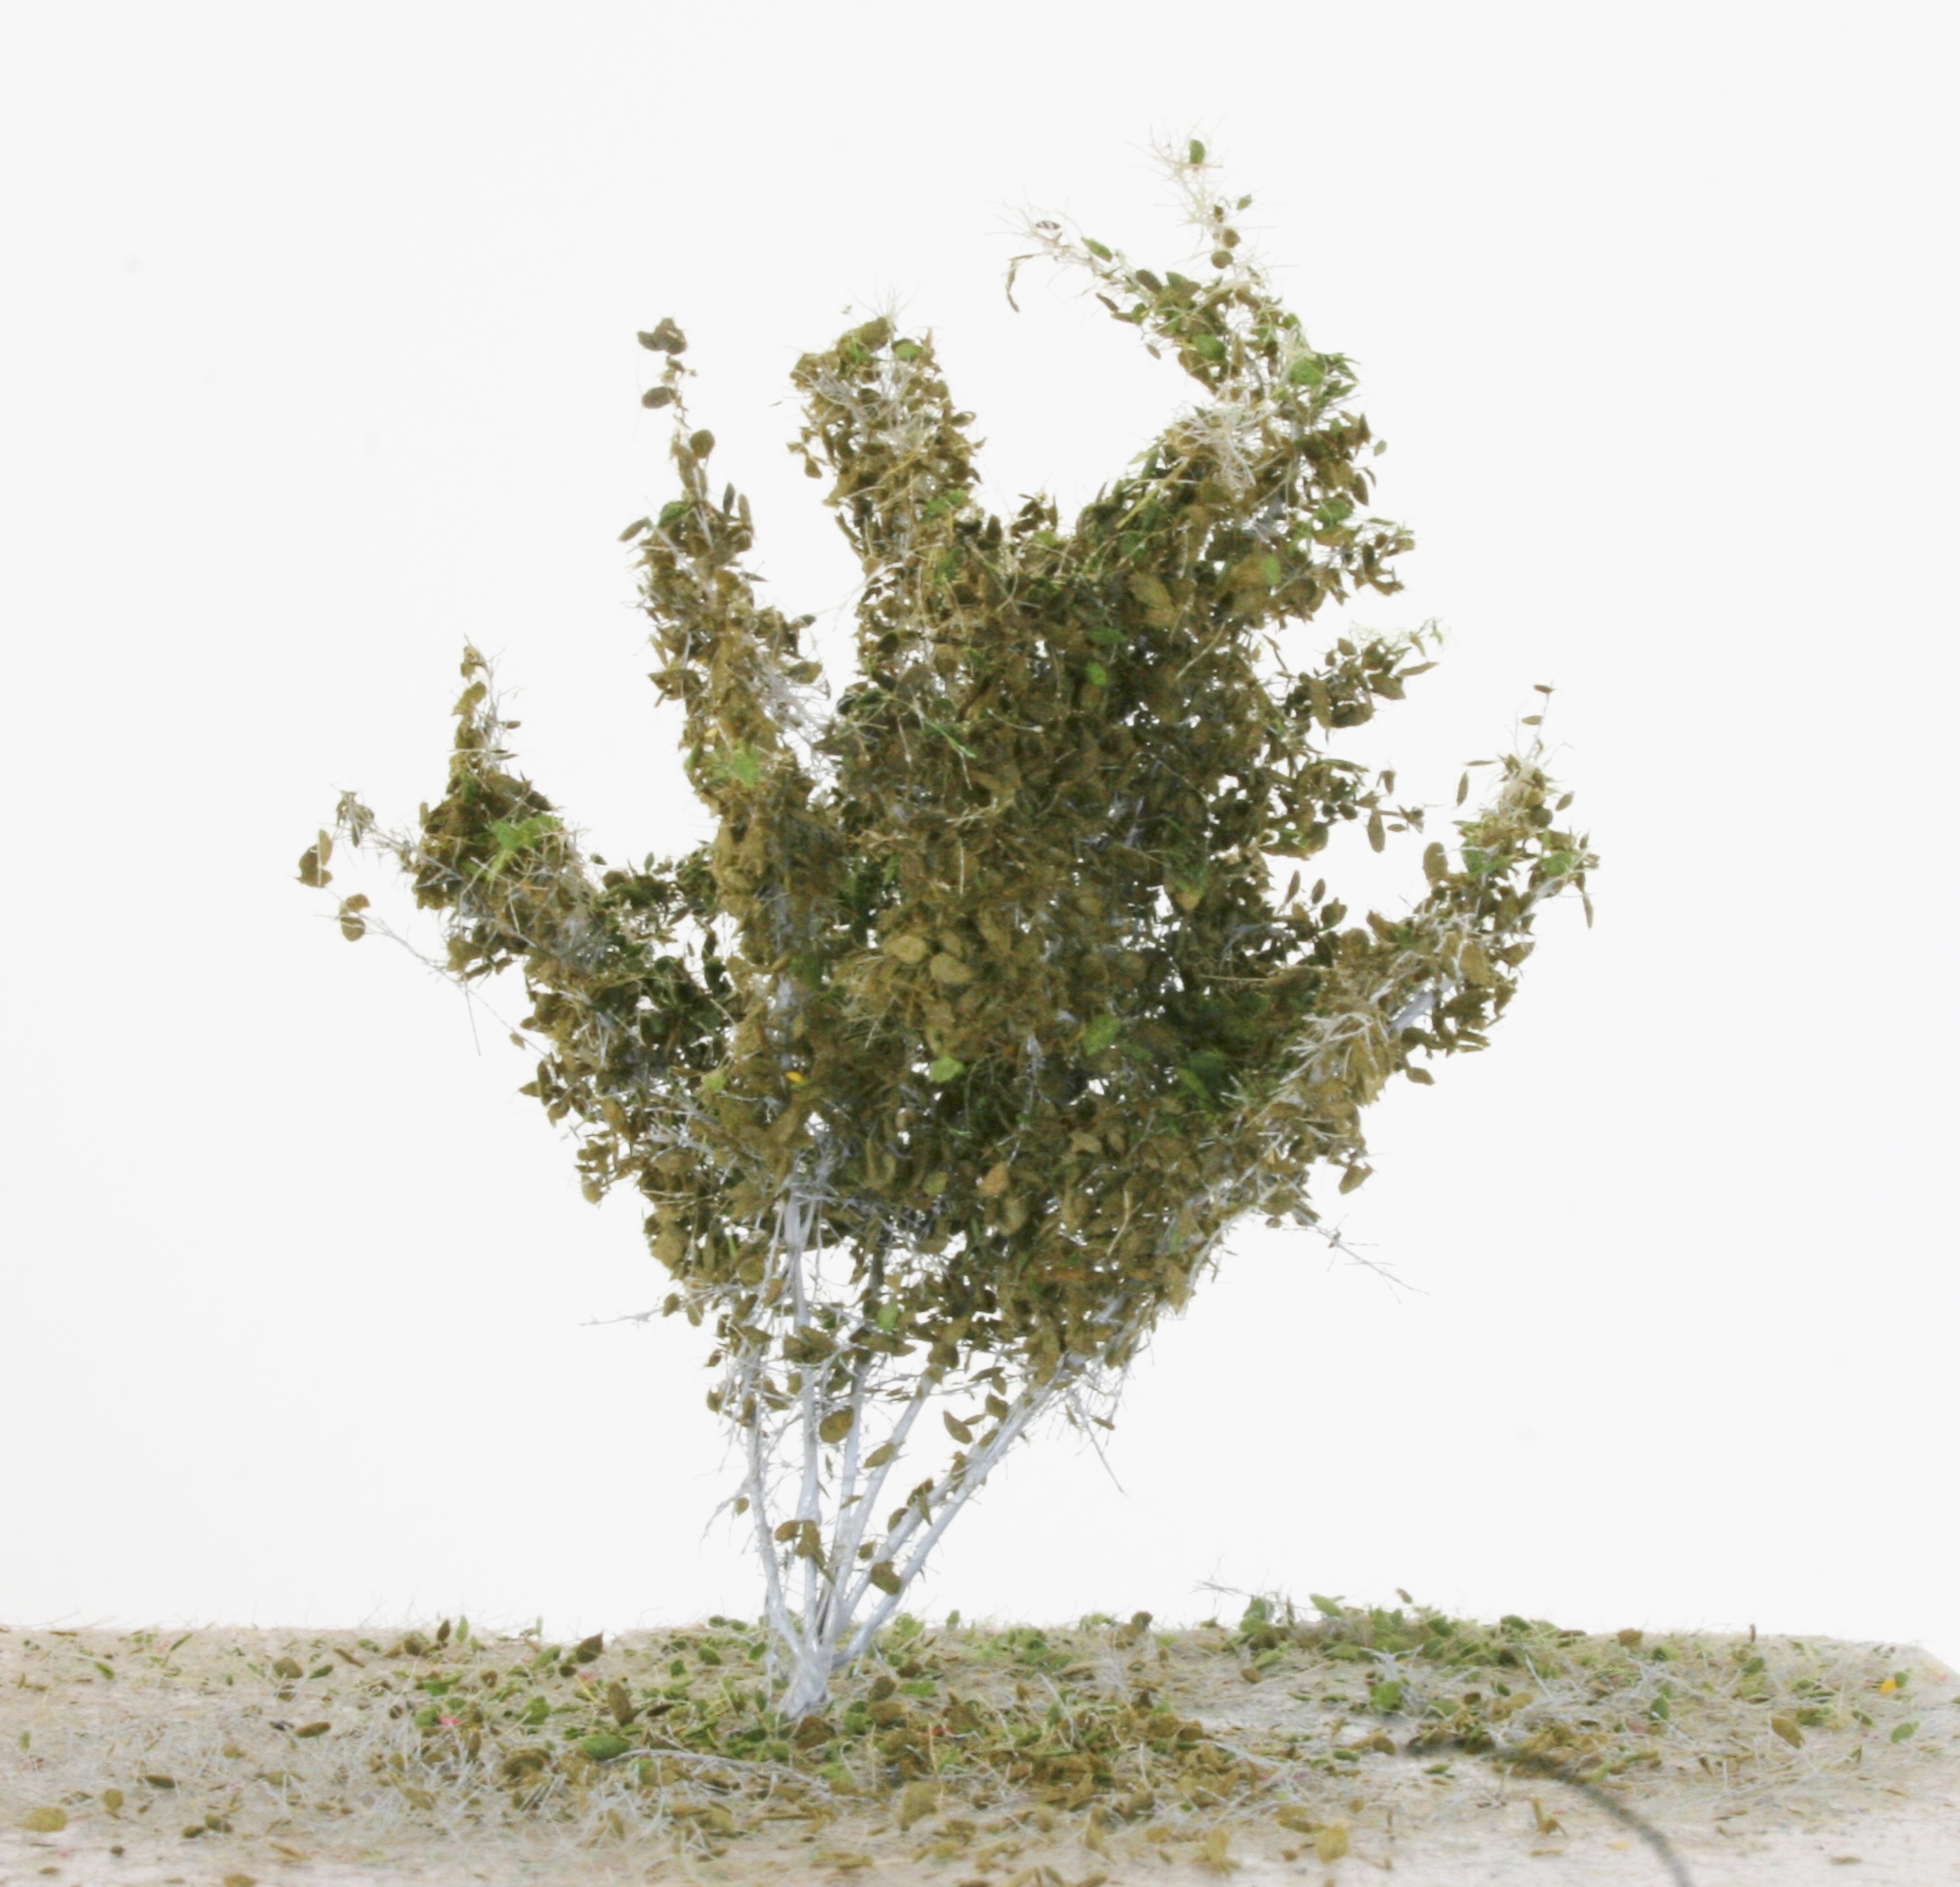

And once again, planted on the layout.


Sunday, May 15, 2016

A wire fence

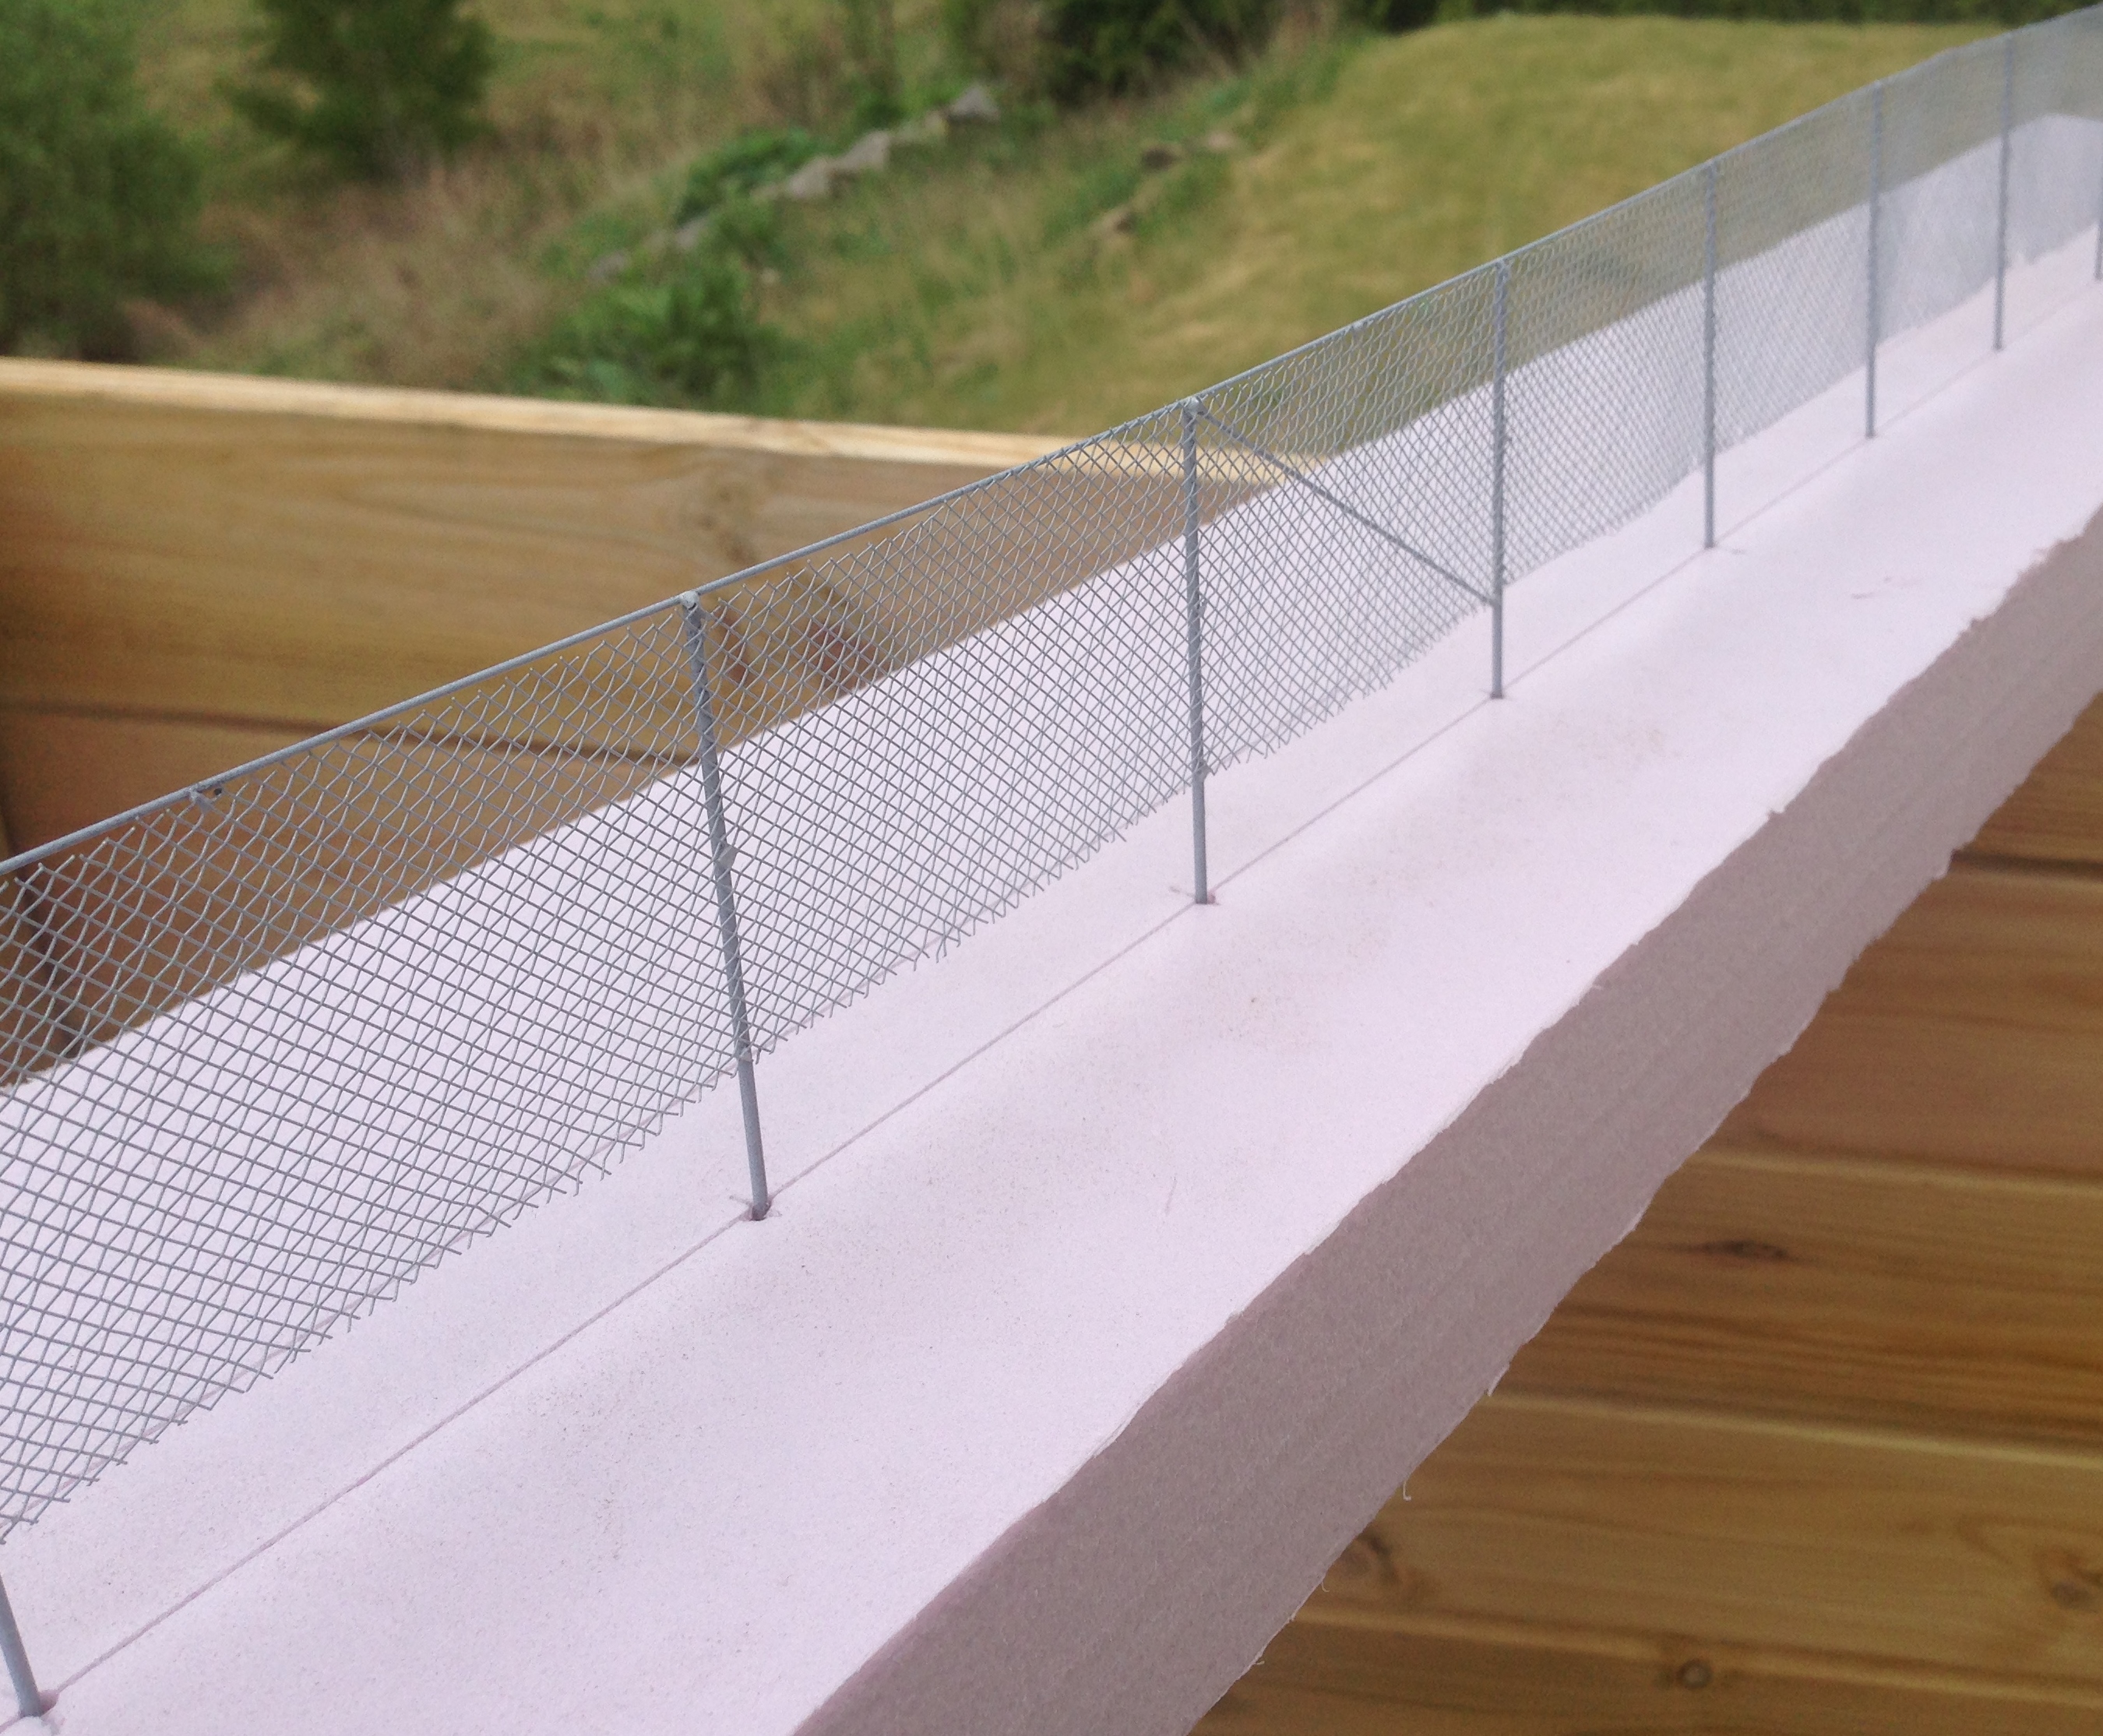
More fencing, this time a wire fence built from two sizes piano wire and some metal mesh. The first picture shows how I laid out the piano wire posts and top rails on a piece of wood, held in place with tape.


Next I soldered the posts and rails together. I also added a few brace posts.


After having cut a suitable piece of wire mesh, diagonally from a larger piece, I attached the mesh. That turned out to be easier said than done. The mesh was painstakingly "unruly" and had its own ideas on how to behave. And sitting tight was not one of them.

My initial idea was to glue (CA) the mesh to the supporting structure, but I gave that up and instead soldered it in place. The next two pictures show the fence after having been sprayed with a grey primer.


In the last picture the mesh shows traces of me wrestling with it. Those parts will hopefully be disguised by weeds and stuff. Some weathering and rusting is also to come.

Sunday, April 24, 2016

Monday, April 18, 2016

A longer fence

I have built a longer fence, and put it down more permanently on the layout. This time I also made an attempt to at making nails. I tested various ways of doing this but ended up simply making a mark with a pencil. Here are some pictures.


The grass, which I though would be suitable for O, looks to thick I think.

Sunday, April 10, 2016

A wooden fence

Today I built myself a short wooden fence. As with the stone walls I did a while back I'm testing methods. The intention being that there will be stretches of fences and walls along the track, towards the backdrop.

Since the boards making up an O scale fence are quite wide,and at the same time very thin, I found it hard to find any scale lumber that would do. If it was wide enough it was way to thick. What I eventually did was to get some 0.4 mm (1/64 in) plywood, which I would to cut into 4 mm (5/32 in) wide boards.

So let's start. Here is the plywood where I have cut off 40 mm bit, corresponding to the height of the fence, which would be about 2 scale meters (about 6 ft).


Next I used my NWSL Chopper to cut the plywood into individual boards. First I did not see that the Chopper's stop had a tendency to not stay put, making some of the boards too wide. Easily avoided once I had realized that this happened, but it made slowed down the whole process.


Also, the razor blade was a little to short, so the Chopper would no cut the complete length of the boards. But that was easily fixed with an X-Acto knife.


Once all the boards for my test fence had been cut, I soaked them in an India ink wash, along with the scale lumber I was to use for posts and supports. Here are the boards, once dry out of the wash.


I then laid out a simple jig, along with the horizontal support boards, and began gluing boards to the supports.


Soon they were all in place, along with two vertical posts.


When the glue had tried it was time to pose the fence on the layout.


Not that bad I think. And there are no more excuses for not building longer stretches of both fencing and stone walls.

Sunday, April 3, 2016

All rail done

Finally I have managed to get all rail painted and weathered. Some new pics.


With that all done I hope to get started on some scenicking, or car or engine detailing...


Sunday, January 31, 2016

Stone wall, part 3

The stone wall I showed in the previous post have stones that looks merely stacked on top of each other. Although that can certainly be the case in the real world, at least in older times, I wanted to try a wall with mortar between the stones.

So I sat ought to do a short test section in the same way as before, but now with spackling compound between the stones. I went about more or less as you would apply mortar between real stones.

Once the compound had dried I proceeded as with the previous wall with an India Ink wash, some additional colouring and last some moss. Here is the finished wall.


And for comparison, alongside the one without mortar.


The second one is OK as well. It's just different. But I think I like the first one better. But of course, it all depends on what kind of wall you want to replicate and what fits the rest of the scenery.