

A blog about my model train adventures
Monday, October 29, 2012
Another go at the hardware
I made another go at applying rust to the tie plates. This time with oil paints. A mix of umber and ochre.

This time the rust stayed on the tie plates and did not spread all over the place. But still a little to distinct perhaps. Needs to be toned down a bit, maybe with some powder. But that has to wait until the paint has dried. Or just a darker rust color?
Sunday, October 28, 2012
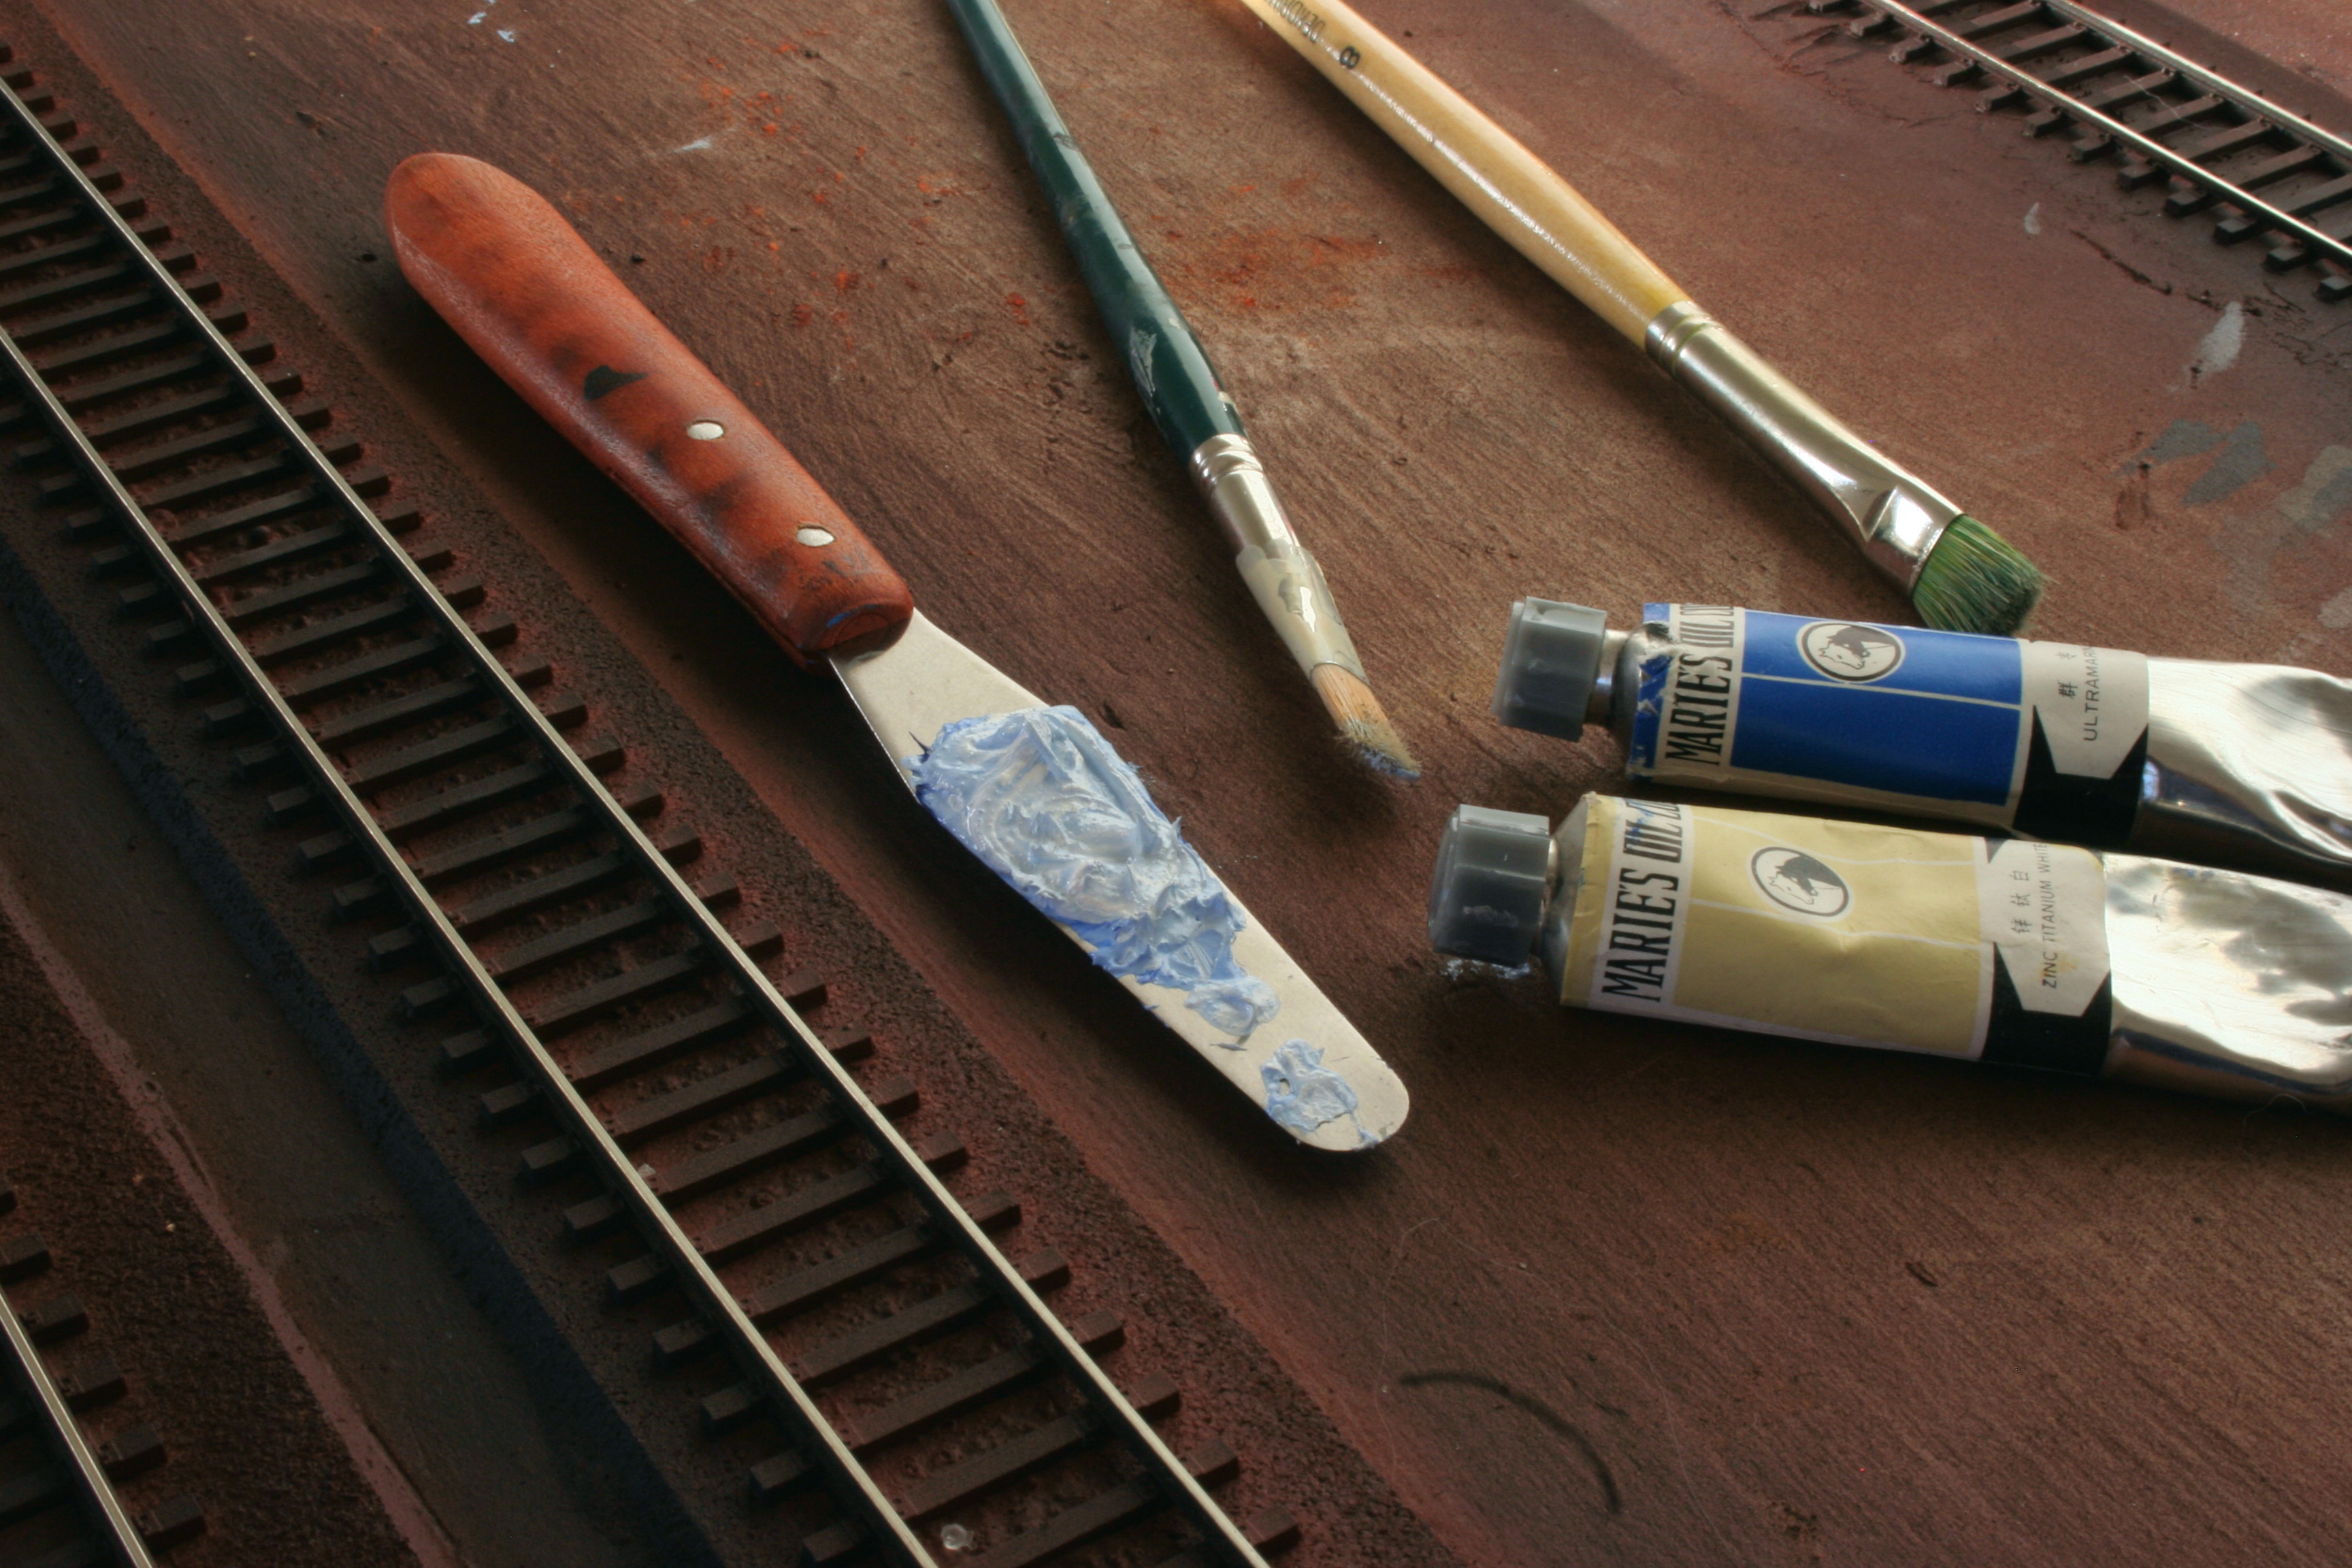
Weathering track
I have continued the track weathering task. This weekend I tried to age the ties by giving them a gray, and hopefully sun-bleached look. For this purpose I used titanium white and ultramarine blue oil paints. I mixed a larger blob of white with a smaller blob of blue, resulting in a pale blue mix.

I then sort of dry-brushed that mixture on to the ties, which gave them a light gray tone. I tried to not give all the ties the same amount of paint, but strived for some variety. I'm not sure if that was a successful attempt or not.


When I finally had painted all the track, I could not resist a quick test with my new weathering powders. I applied some rust on some of the tie plates, but think I perhaps was a little to generous with the powder. I need to apply the rust more sparingly.

Thanks for looking.


Thanks for looking.
Wednesday, October 24, 2012
Painted points
When spray painting the track, as I showed in the previous post, I had covered the point areas with masking tape, since I did not want any paint to cause the moving points to stuck. So the next obvious step was to brush paint those areas.
I used the same approach as when spray painting - first some reddish/brownish paint, and then a thin layer of black. I used box car red followed by grimy black.
But before painting I replaced the CVT tie blocks with some I did from leftover CVT ties. The original CVT blocks where simply too long to fit between parallel tracks.
Here is a shot of the result.

Next I will use oil paints to add some individuality, and "old age gray", to the ties. And some rust on the spikes and tie plates. More on that in a future post.
I used the same approach as when spray painting - first some reddish/brownish paint, and then a thin layer of black. I used box car red followed by grimy black.
But before painting I replaced the CVT tie blocks with some I did from leftover CVT ties. The original CVT blocks where simply too long to fit between parallel tracks.
Here is a shot of the result.

Sunday, October 14, 2012
Painting track
For no apparent reason nothing has been accomplished on the layout lately. But yesterday I all of a sudden found myself standing in front of it, with spray cans in hand. Time to paint the track.
Since I was satisfied with track weathering tests I did earlier I proceeded along the same lines. This meant I started by spray painting everything a brownish red color (after having covered the switch point and throwbar areas with masking tape). Like this.

In the picture above I have not only painted the track, I have also cleaned the rail tops. I did that although I was not yet done with the spraying, but I though it wiser to clean one layer of paint at the time, rather than two layers later.
Today I sprayed the track with a black paint, followed by a flat varnish. here is the result, after I removed the switch point masking tape.

Then it was time to clean the rail tops again. I had earlier, by pure chance, that small pieces of MDF board could be used for this purpose. With the advantage that when eventually too dirty, you can simply clean with a few strokes of an ordinary rasp or file.

And here it is all done, more or less.

The next step will be to brush paint the switch point areas.
Since I was satisfied with track weathering tests I did earlier I proceeded along the same lines. This meant I started by spray painting everything a brownish red color (after having covered the switch point and throwbar areas with masking tape). Like this.

Today I sprayed the track with a black paint, followed by a flat varnish. here is the result, after I removed the switch point masking tape.


The next step will be to brush paint the switch point areas.
Subscribe to:
Posts (Atom)