Monday, April 30, 2012

Cork is down

All the cork is down. Although I thought I had a substantial amount of cork when I started out, I still had to order more before it was all done. Even for this small layout.


In the area down to the right in the picture below I plan for some kind of container and inter-modal operation. So here I skipped the cork and will instead be running the tracks down on the foam.


As you might notice I deviated from the original plan at the far end. I extended the track to the right of the yard up to the end of the layout, and made it cross the right-most track. I do not yet know how I will justify this twist, when it comes to operations and structures. But it will at least give me the opportunity to model a diamond crossing.

When I was done with the cork I painted the foam with a tan latex paint. Gives the whole thing a somewhat more pleasing look.


Sunday, April 15, 2012

Cut, embankment and code 55

To add some variation and visual interest I will let the passing mainline, which runs along the front of the layout, to slightly sloop to the left (railroad west), in a cut or on an embankment (depending on your point of view). Using a handsaw I removed part of the foam. Like this:


And the tracks will run downwards like this:


Of course, I will need some kind of retaining wall. I have not decided if it will be a stone, concrete or timber wall. Time will tell. I also have to figure out what to do where the track meets the backdrop, so it does not looks as if they end "wham" into a wall. I might widen the alyout a little at that end, and place some kind of structure there which the tracks can disappear under or through.

I have yet to order the rest of the turnouts, track tie strips and rail I need. When I sat down to calculate how much stuff I needed I also began to question whether I should use code 70 rail throughout or not. Why not try code 55 as well?

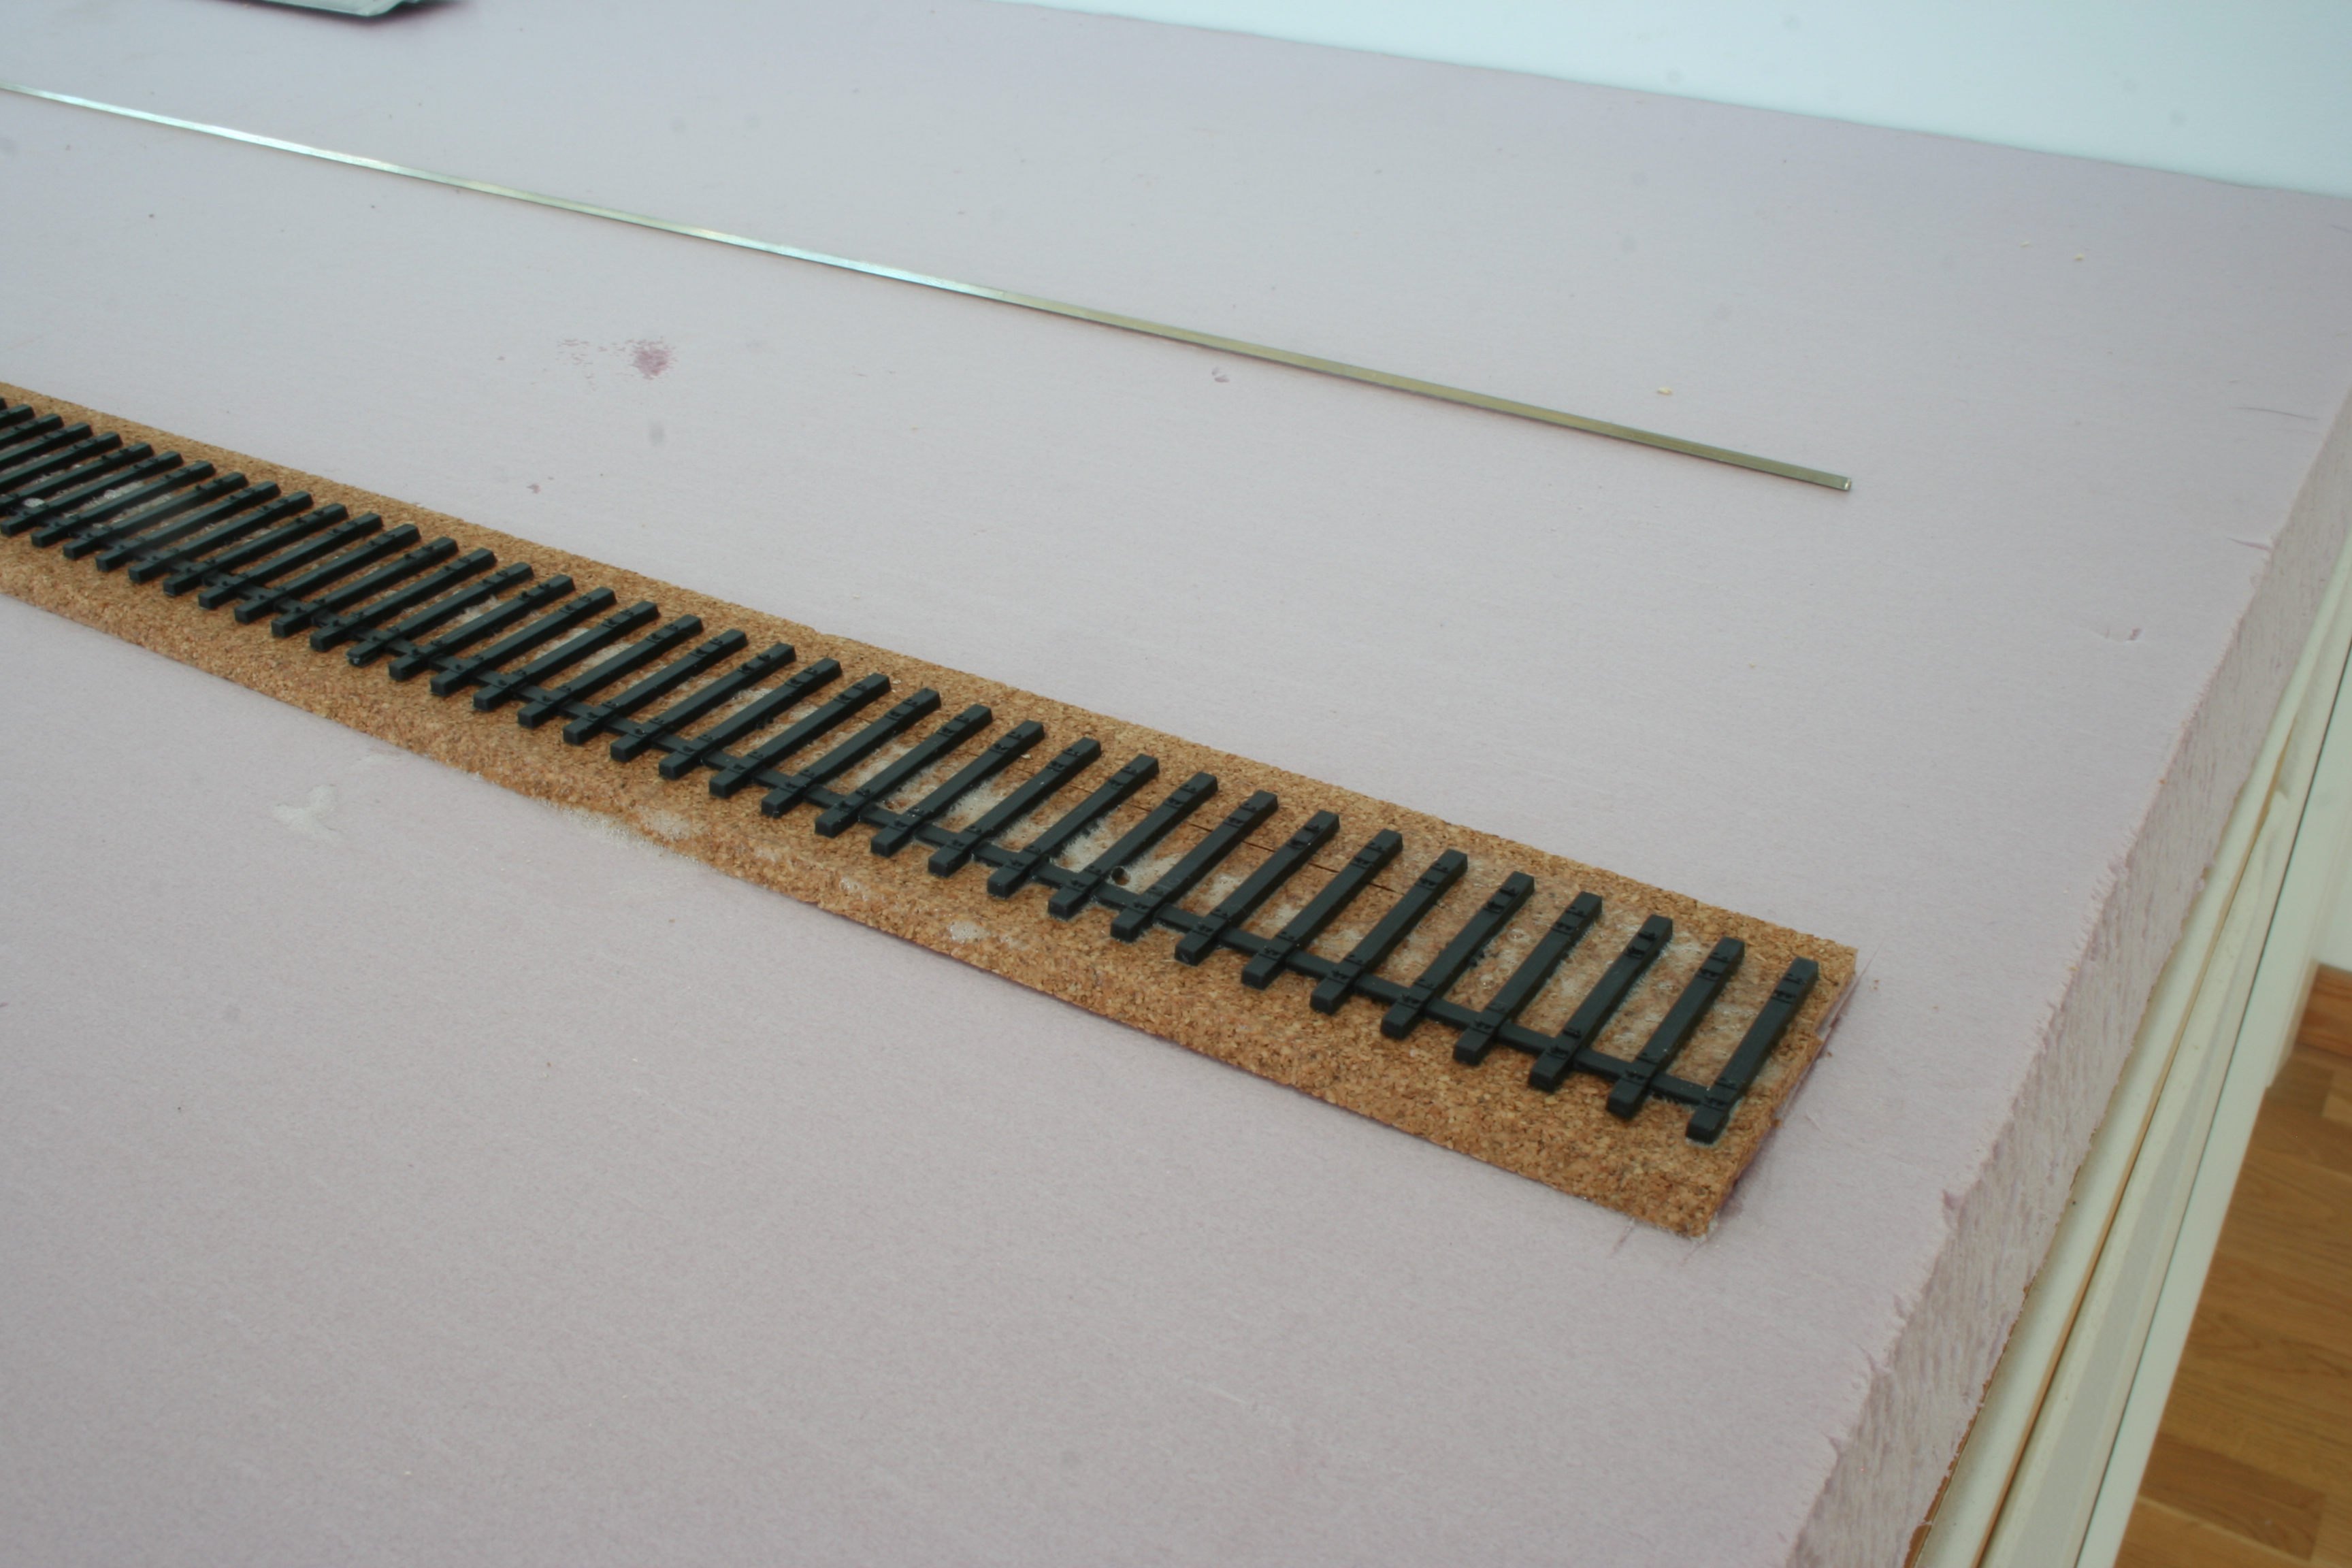
So I did a quick feasibility test. I removed the rails from a piece of weathered ME code 55 flex track I had lying around, and placed the rails on a piece of Central valley tie strip. The photos below shows my MP-15 DC with the front truck on the code 55 rail and the rear truck on some (non-weathered) code 70 rail. Click the pictures to get a better view.


I must admit that I get all excited by the looks of the engine on the slim code 55 rail. I will probably use it for some of the spurs, while I will stick to code 70 for the mainline, the yard tracks and the run-around track. And flange depth, which have long been an issue regarding N scale and code 40, does not seem to be an issue here.

Saturday, April 7, 2012

Laying some track

Once the cork had set I proceeded with the Central Valley tie strips. I glued the strips to the cork, using the same glue I earlier used to glue the cork to the foam. The strips have special provisions at the ends so that they easily, and using a little styrene cement, hook together forming longer strips as needed.


I paid special attention to the spots where the strips met the turnouts, making sure they were aligned properly so that the rails protruding from the turnout assemblies would fit on the "tie plates" on the tie strips.


When the tie strips were in place I glued the turnout assemblies to the foam, and bonded the protruding and overlapping rails to the tie strips with CA. Then I put some weights (books) on top of the lot and let it sit overnight.

Today it was some time for some rails. After cutting the rail to the proper length I soldered a piece of feeder wire to the bottom of it, making sure the wire would end up on top the hole I had just made through the cork and foam. I find it easier and safer to just poke a hole with a small screwdriver and widen it with a jewelers file, instead of using a drill. It is difficult to control the drill in the foam, and it produces a lot of dust. Poking and filing is much cleaner.


I bonded the rails to the tie strips using PlioBond contact cement. The tedious part is to apply cement to the strips. To avoid getting cement on the tie plate and spike details I apply it using a tooth pick. To get the cement onto the underside of the rail is much easier, once you get the hang if it. I hold the rail upside down using a pair of pliers and stroke the tip of the cement tube along the rail at a steady pace. You need not press the tube to get the cement out. Once you have got it started it will sort of drag itself out of the tube as you go along. Fascinating!


Here is the result. Last picture with a box-car doing the maiden trip.


Thursday, April 5, 2012

Roadbed

Both test turnouts are done and have I turned my attention to the tie strips, of which I have so far acquired a "test pack". I had some leftover N scale cork roadbed which happens to be exactly the same thickness as the plywood I built the turnouts on. So I saw no reason why I should not use it as roadbed for my H0 track. It being on the "thin" side is in fact a bonus for this yard and spur oriented layout. But to compensate for the fact that H0 track is wider than N scale track I used three parallel cork strips, as seen in the picture below (lousy glue job on the leftmost strip, by the way).


I used a "Gorilla glue" type glue to attach the cork to the foam, and held the cork in place with pins while it was setting. Here is another picture showing one of the plywood based turnouts, surrounded by cork roadbed.


The turnouts are still just lying loose on the foam. As you can see I have soldered feeder wires to them. A total of seven wires to each turnout - one for each point, one for each closure rail, one for each stock rail and one for the frog rails. Before gluing the turnouts in place I will poke wholes in the foam, and thread the wires through it.